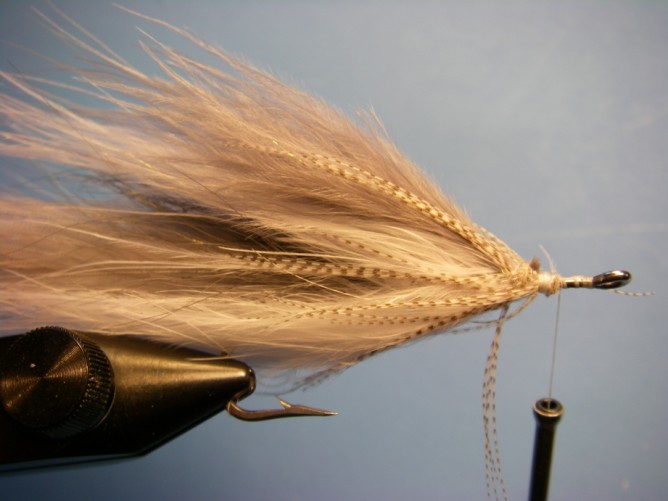
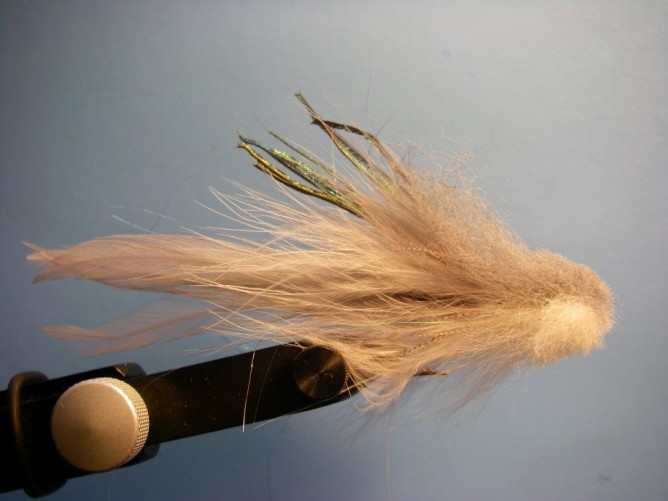
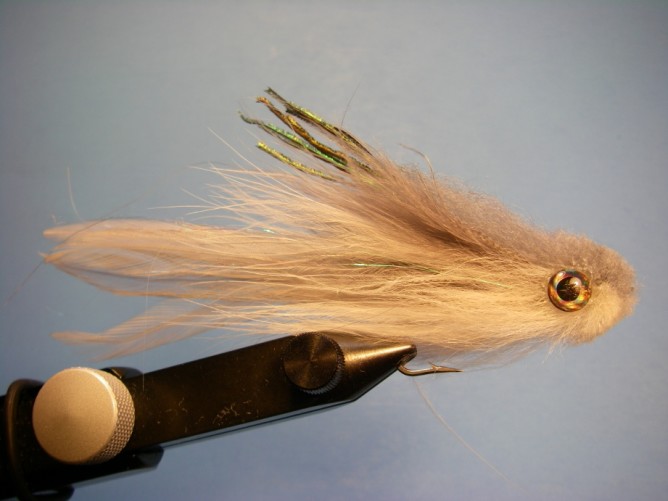
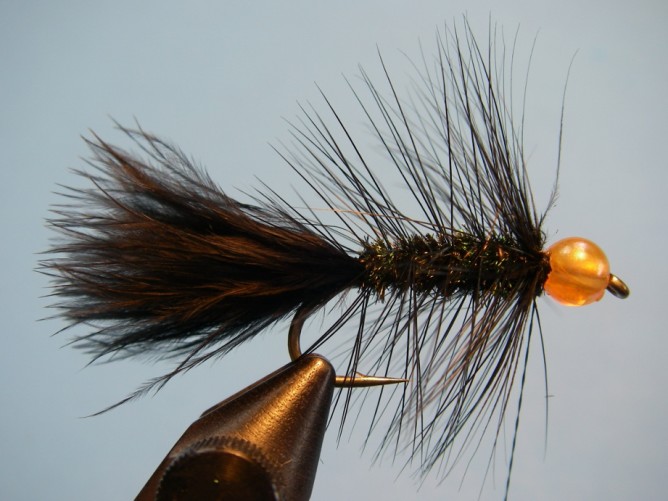
Ice Bugger – Effective on Steelhead, Salmon and Trout
Yet another variation of the effective wooly bugger, the Ice Bugger is simplified, is easier to tie and offers just a little bit more slink and suave motion than the original. The Ice Bugger isn’t a radical departure from the Steelhead Bugger – which was the influence when I was looking for a way to tie a bunch of effective flies, quickly – and ended up with this design.
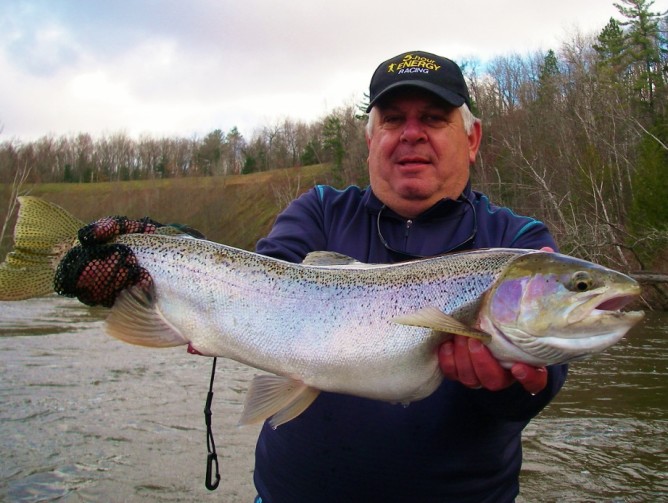
While it isn’t the most creative fly or variation of an existing pattern that I have come up with, the Ice Bugger does speak for itself when in the water and what eats it. Originally I tied it for Salmon and Steelhead, I have since found it works well for Trout – typically fished swung with little strips back – especially when you add a black bead head and fish it on a floating line. When using this pattern on Steelhead and Salmon, fish it just about any way you would fish a nymph – dead drift, bottom bounce and/or under a float/strike indicator. To learn more about rigging for Steelhead and Salmon fishing, click here.

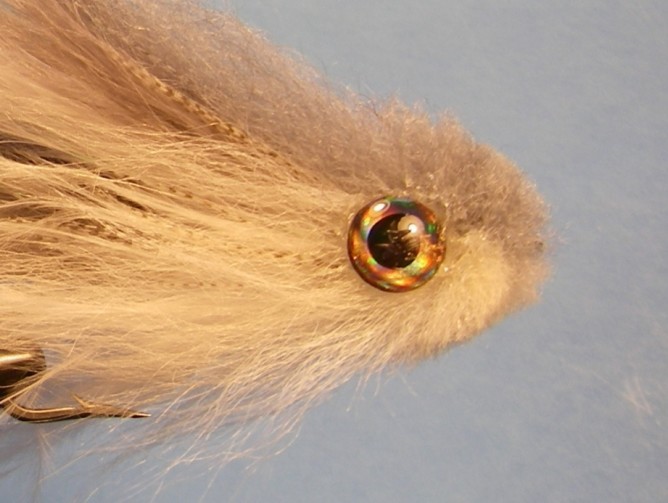
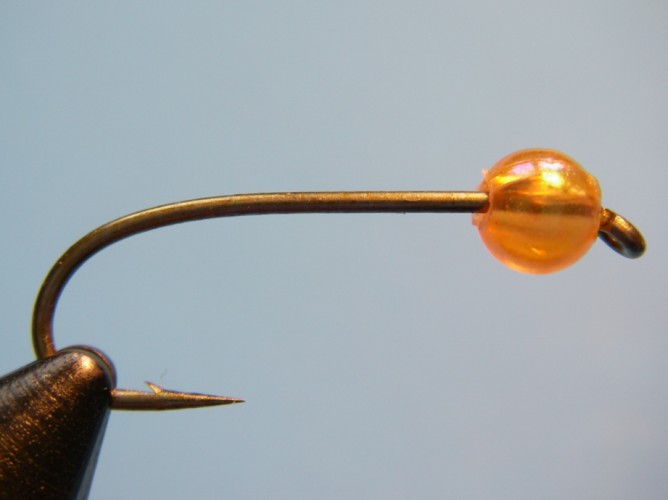
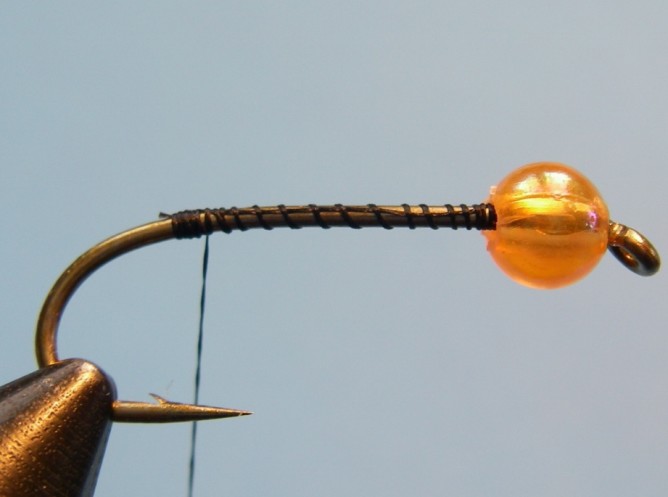
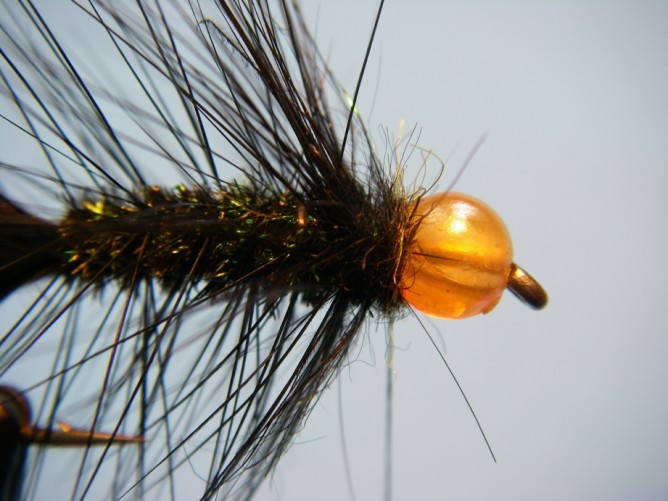
Option: Add a Bead Head to the Ice Bugger
The Ice Bugger suggests a number of food sources including leeches, but I think its real effectiveness comes from its profile and motion when wet – especially when fishing in some marginally slow water which really activates the materials. The iridescence of peacock Ice Dub – which the fly was named after – only adds to its appeal.
Tie a bunch of Ice Buggers and fill your box, but don’t over dress the fly – the streamlined and sparse amount of materials is imperative.
Recipe
Hook: TMC 3761 #6
Thread: Uni 6/0 – Black
Tail: Marabou, Blood Quill – Black
Flashabou – Black/Pearl
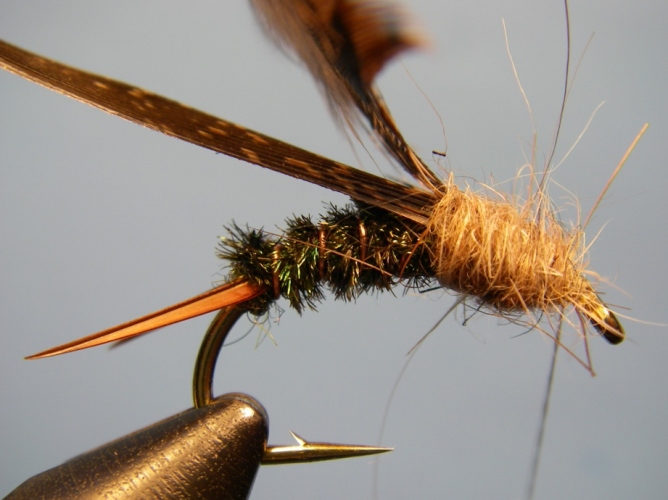
Body: Ice Dub – Peacock
Hackle: Hen Saddle – Black
Tying Instructions
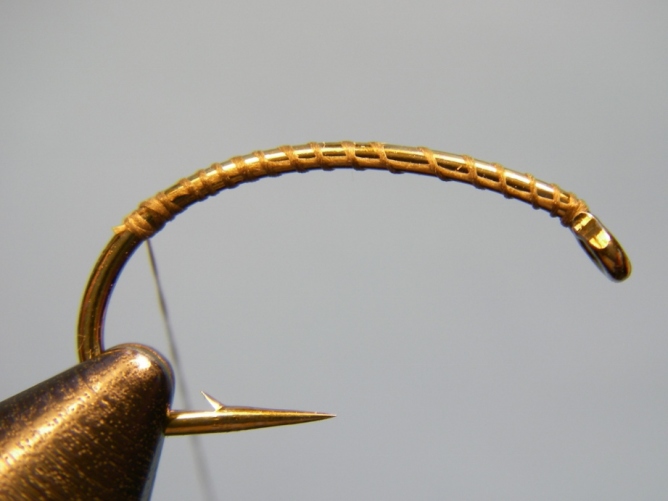
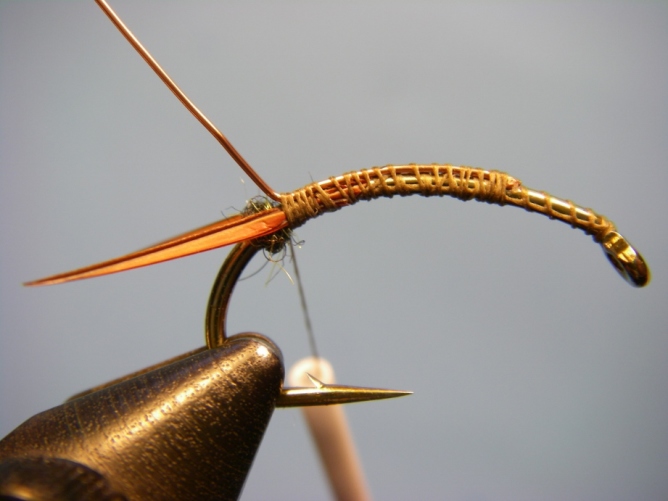
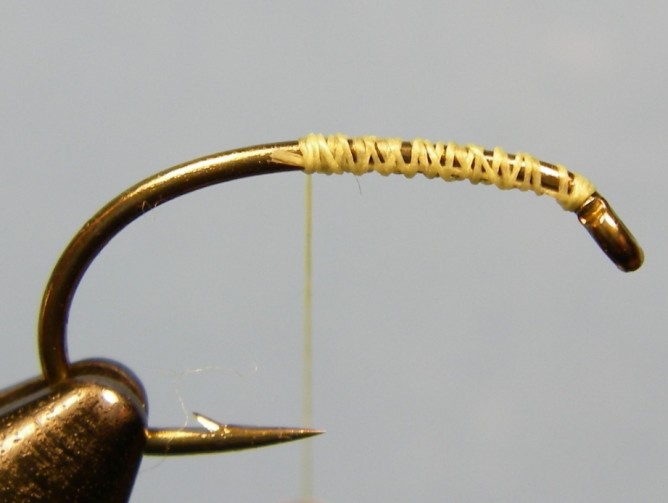
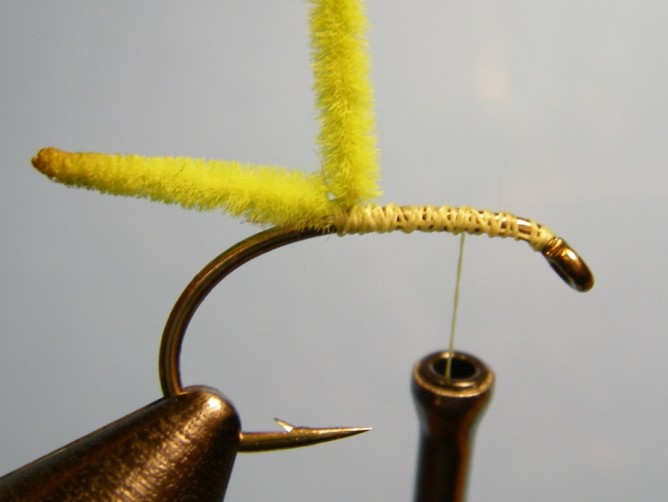
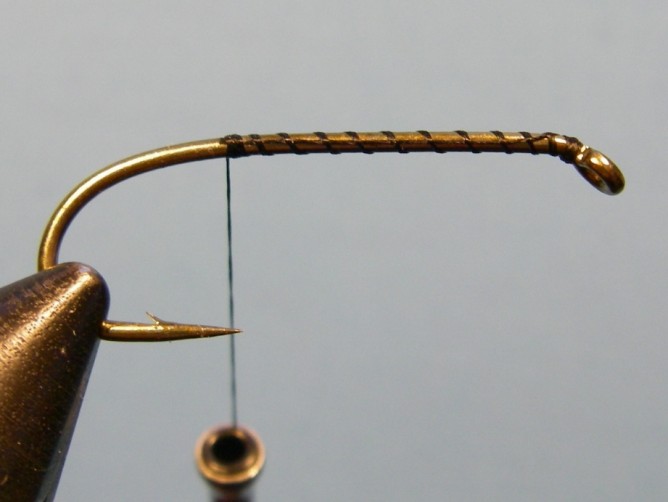 Step 1. Wrap a thread base from behind the eye to above the hook point.
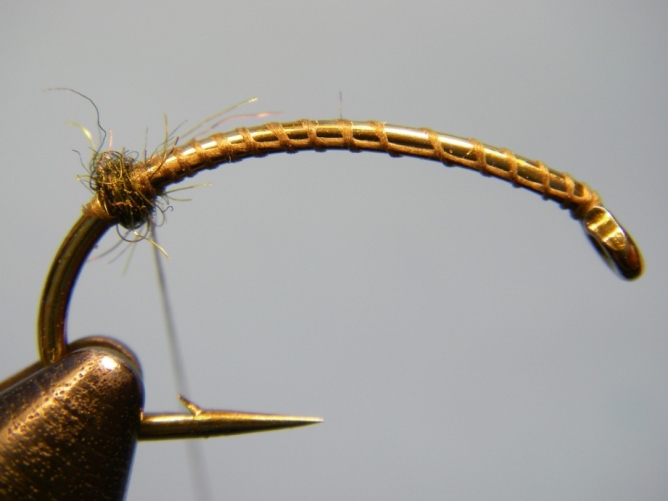
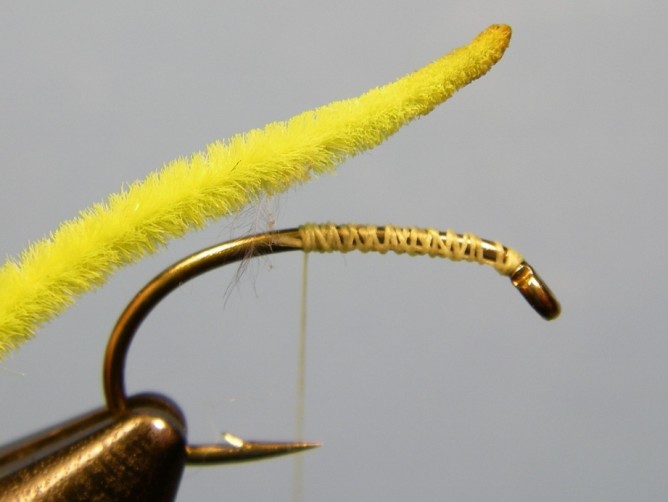
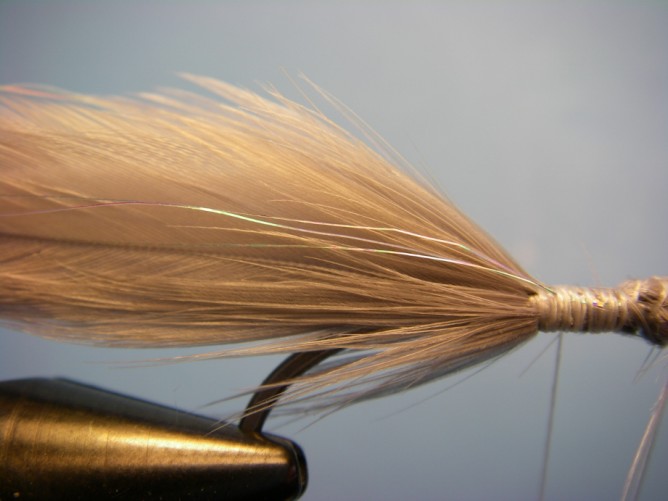
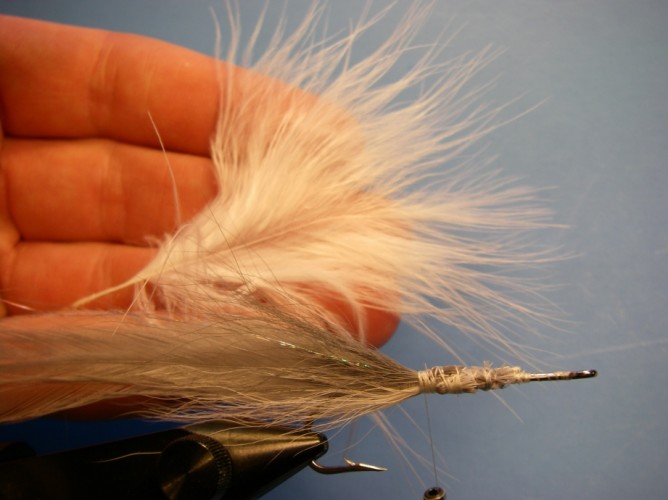
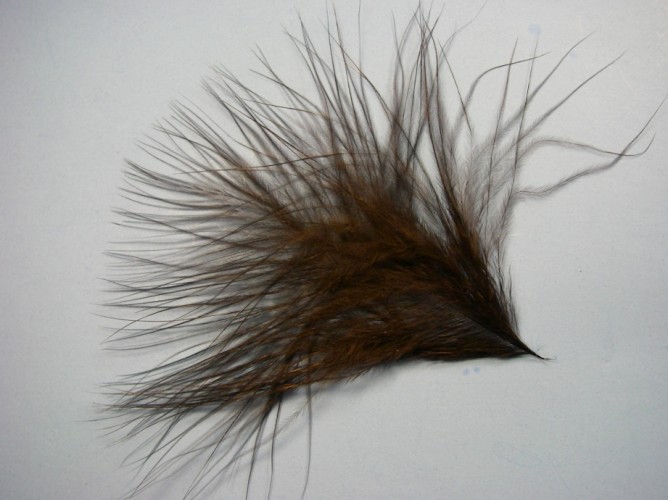 Step 2. Select a marabou feather and use some of the tip section by cutting just
enough of the tip from the feather. Pinch the fibers together (as it will look when wet)
to determine the proper amount. Use the photo in Step 3 as a reference as to how much.
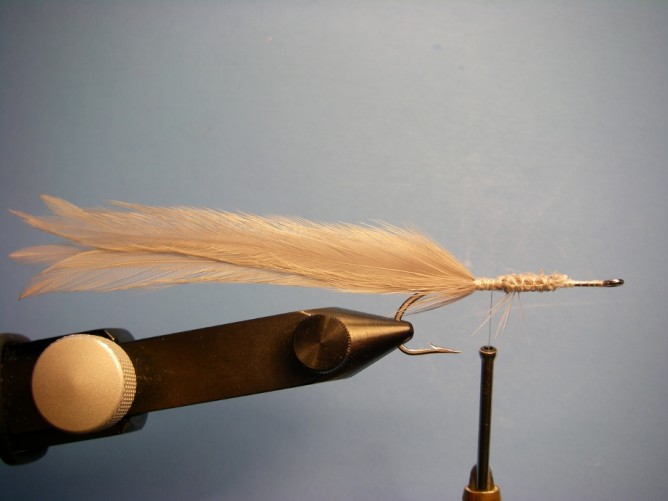
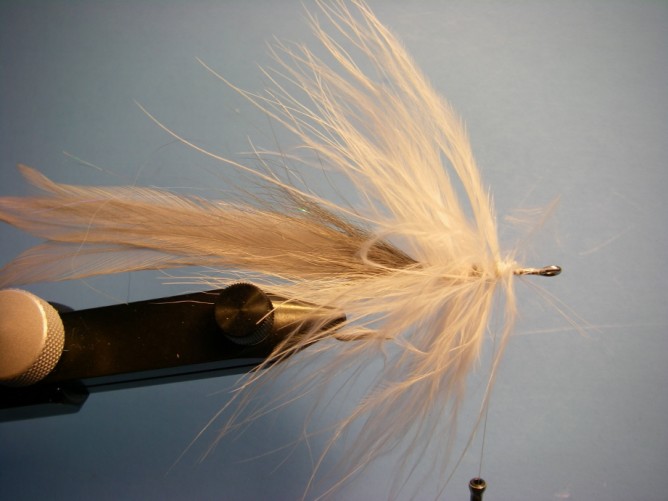
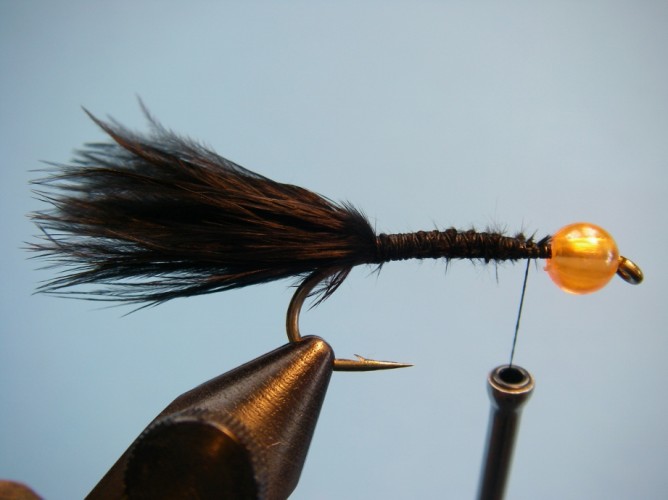
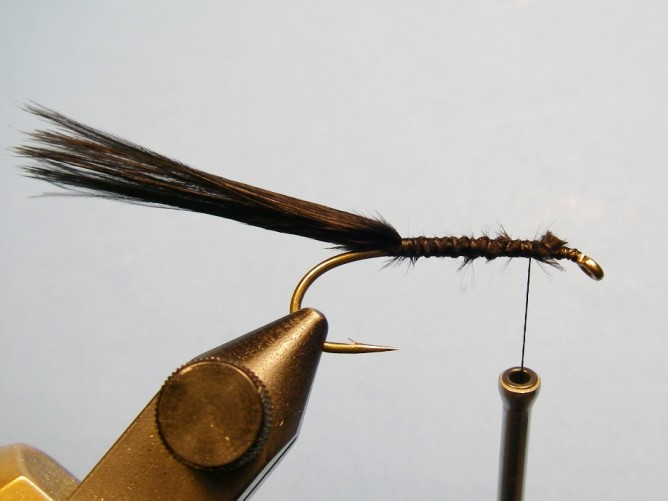 Step 3. Tie in tail marabou feather so it extends one hook length beyond the tie in position.
Tie down the remainder of the feather on top of the shank to provide a little bulk for the underbody.
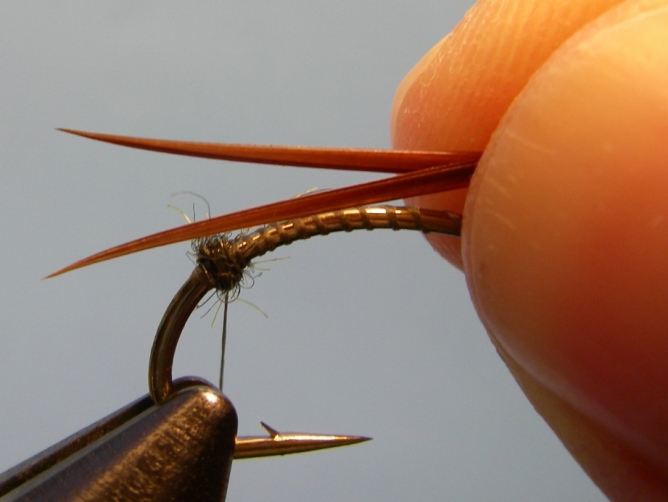
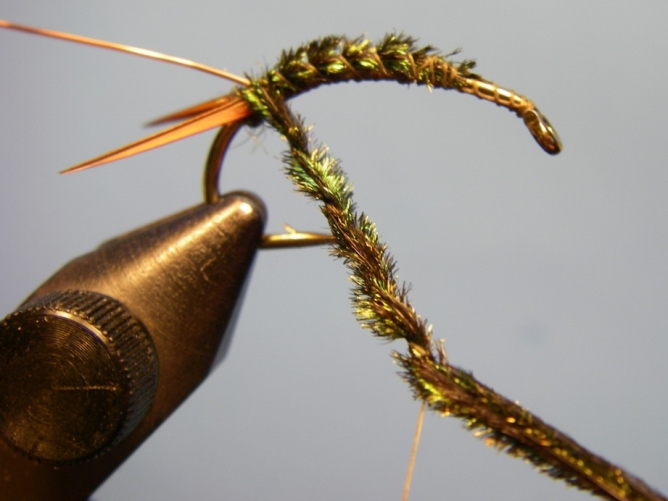
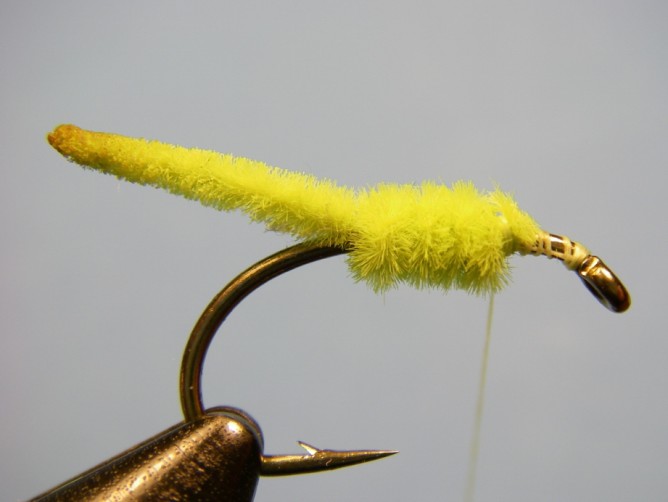
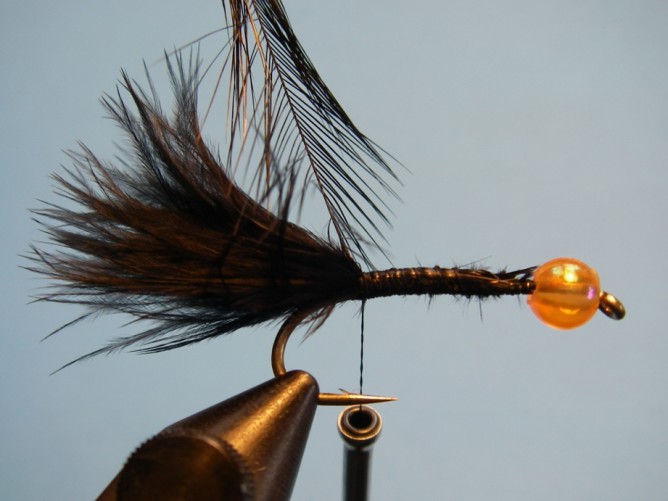
 Step 4. Tie in a single strand of Flashabou on each side of the hook so it is no longer than the tail.
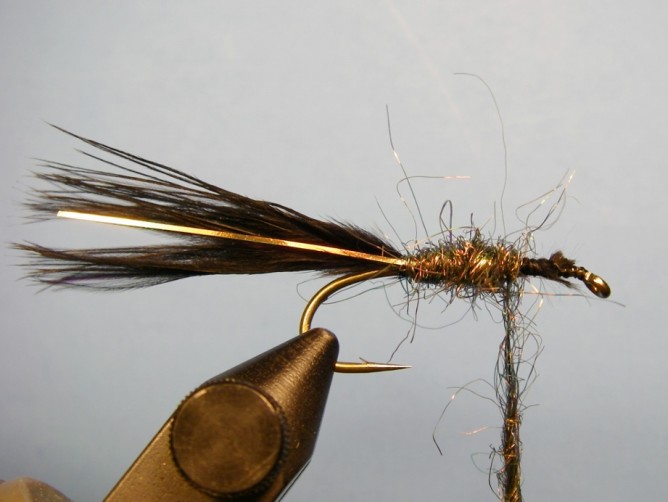
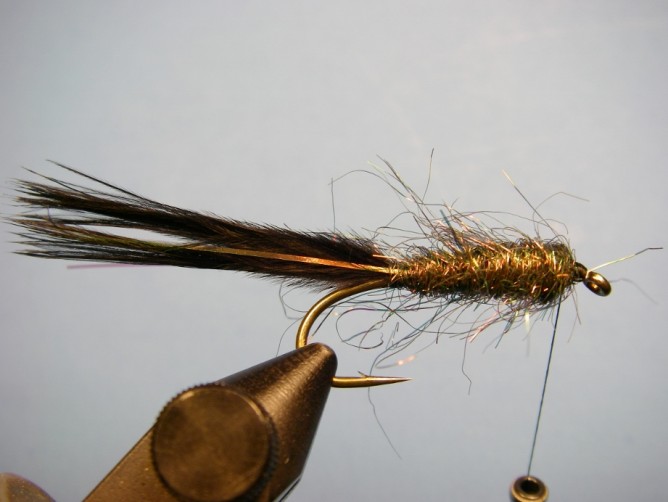
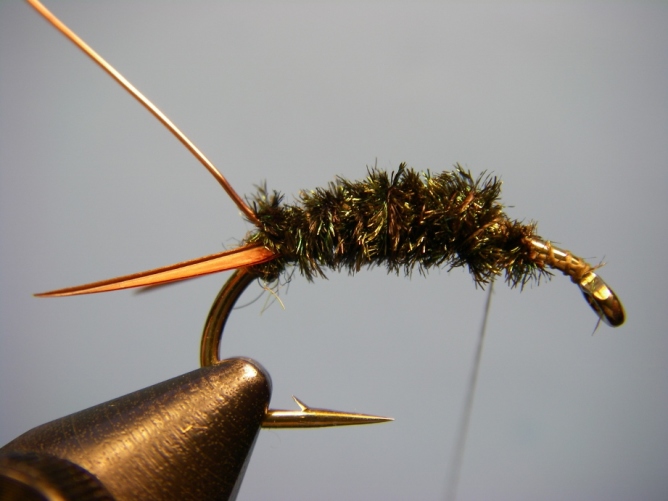
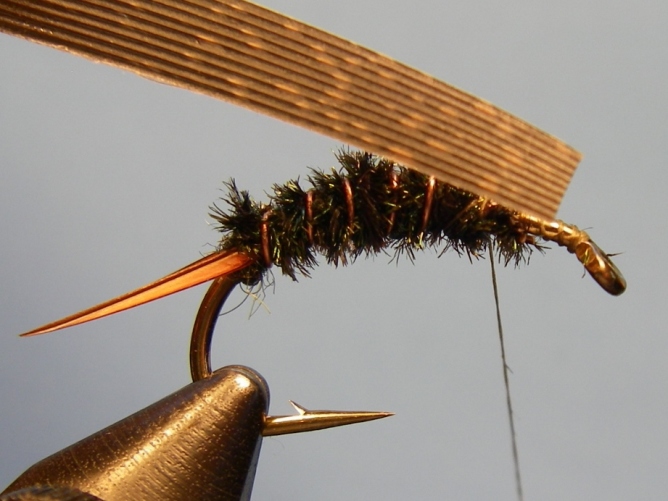
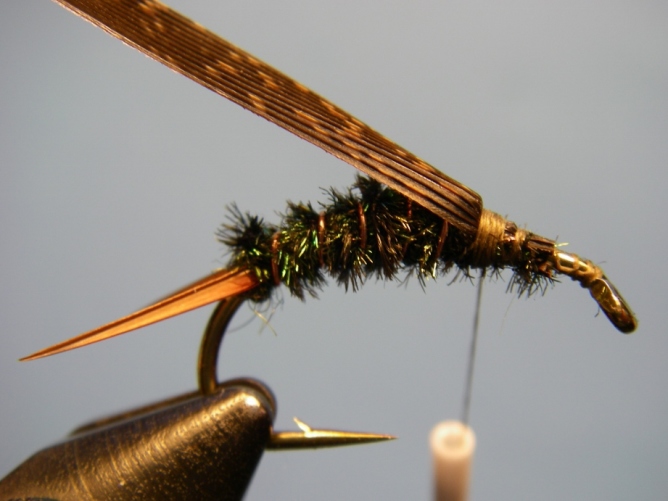
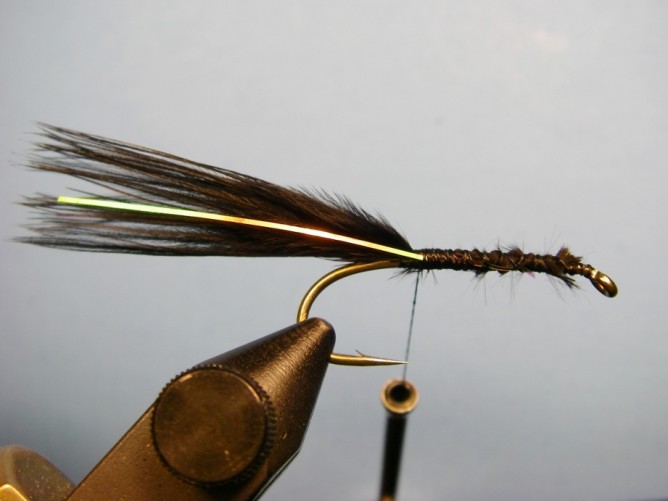
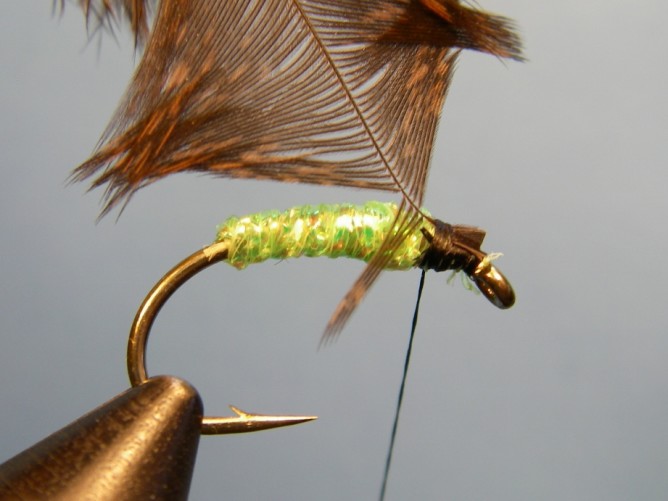
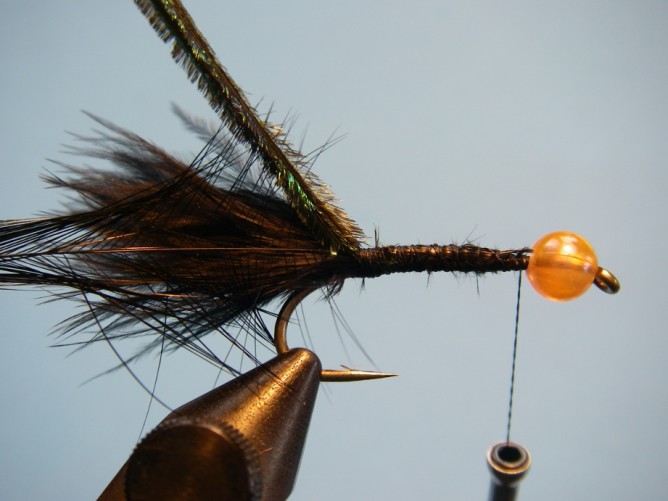
Step 5. Dub a noticeably tapered body towards the hook eye, but leaving a hook eye’s space bare for the hackle.
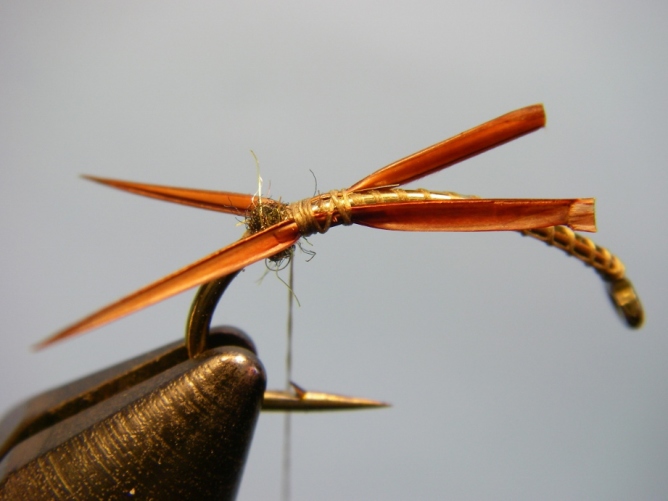
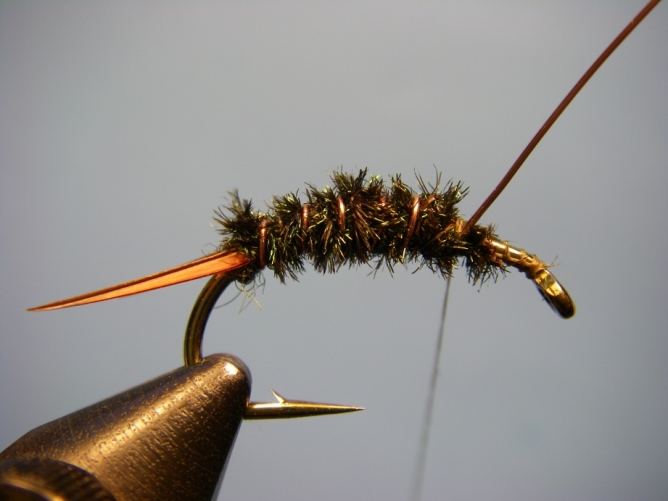
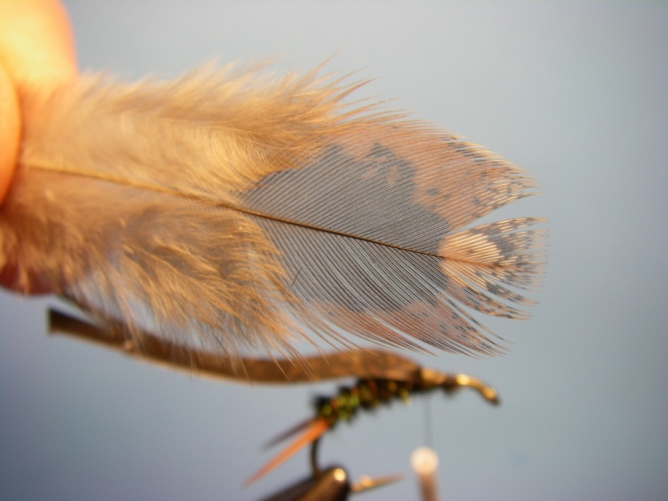
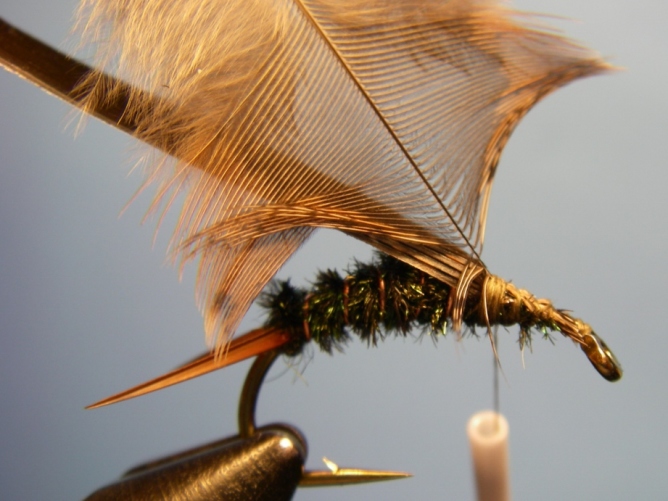
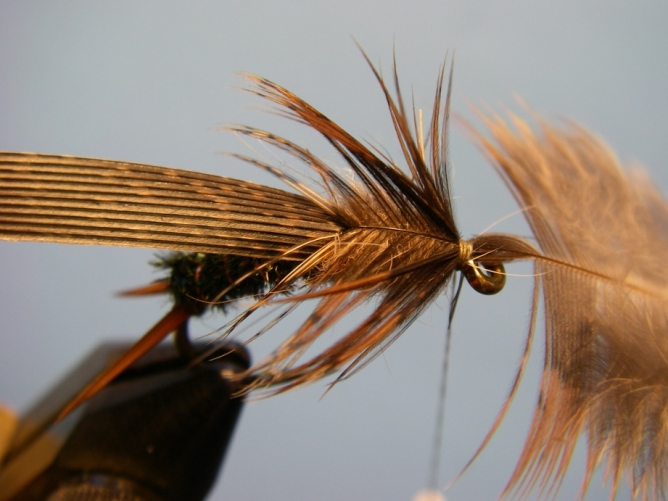
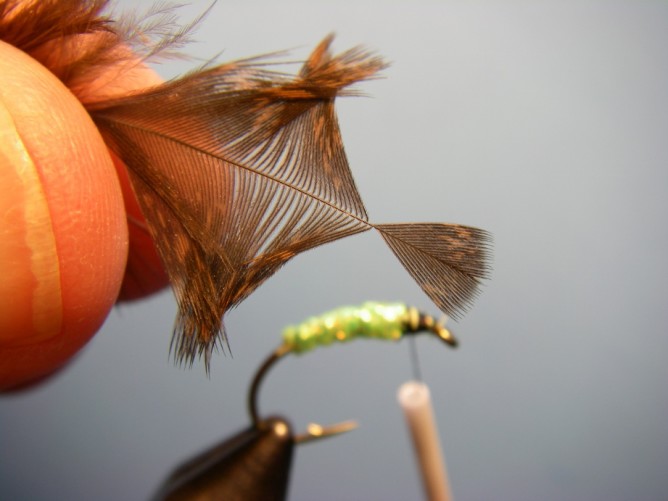
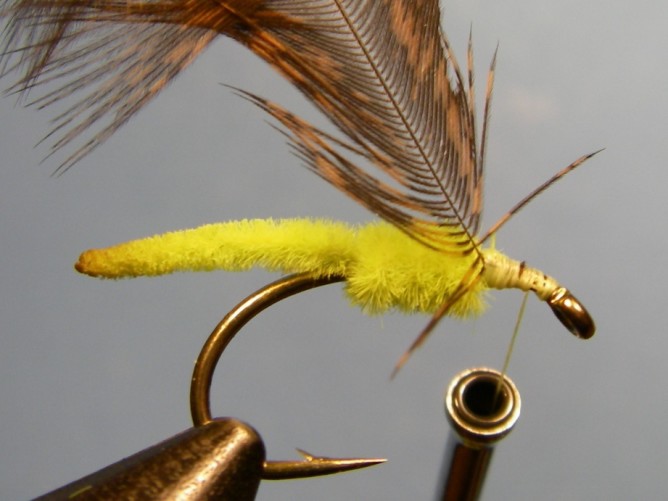
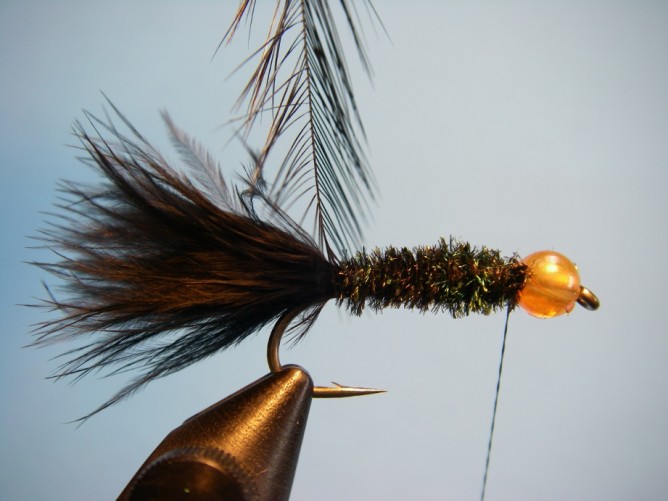
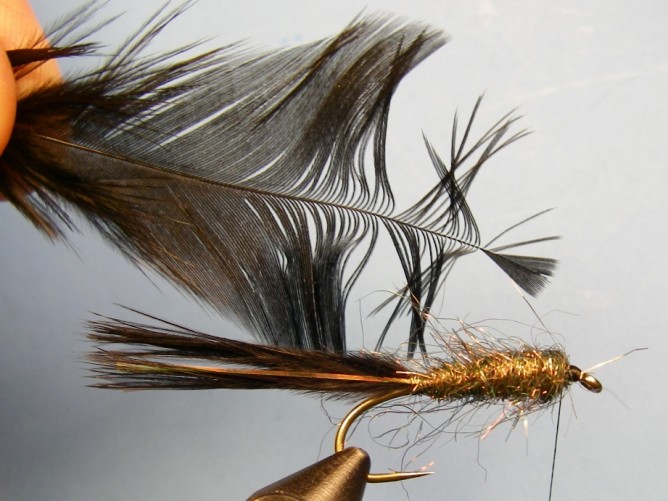 Step 6. Select a Hen Saddle feather from the pelt that is sized accordingly. Tie in at the tip.
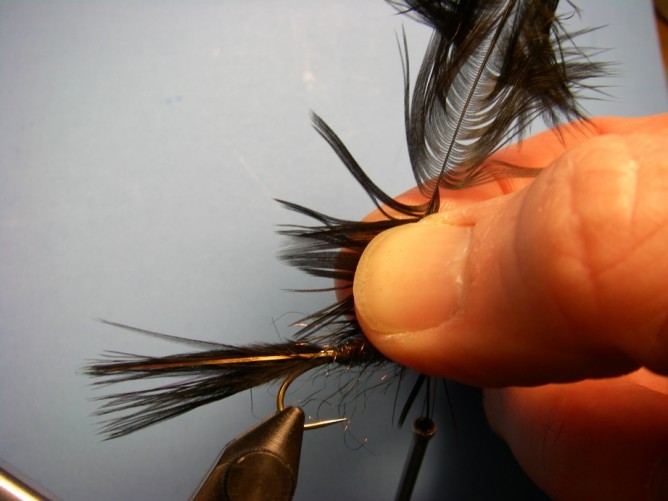
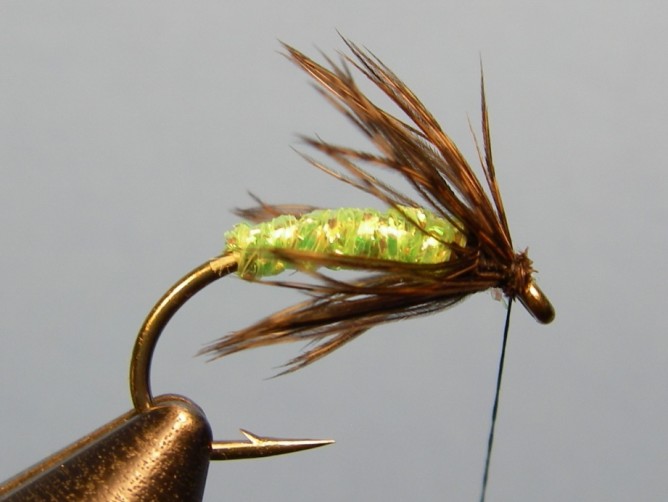
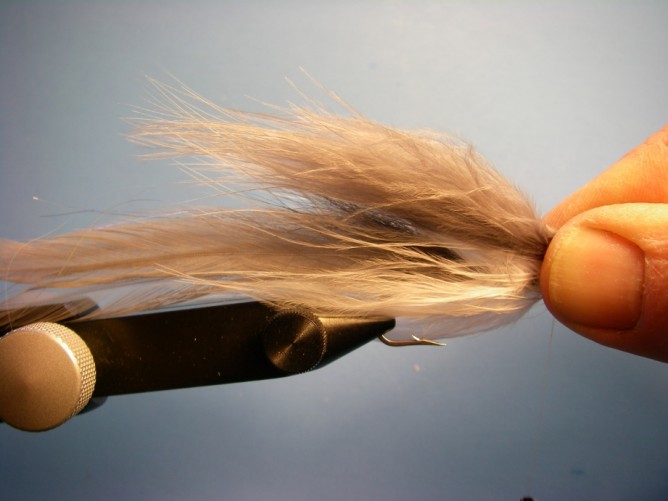
Step 7. Holding the stem upward with light pressure, “fold” the fibers from both side of the step backwards by pinching them. Now, wrap a collar – one wrap in front of the other – until you get a full collar. Whip finish.
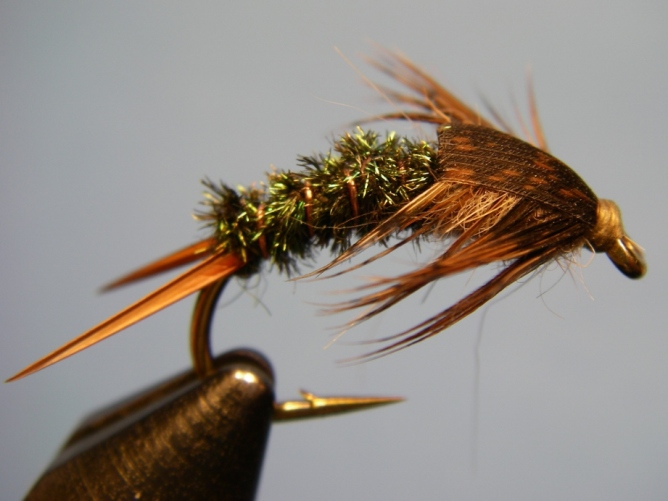
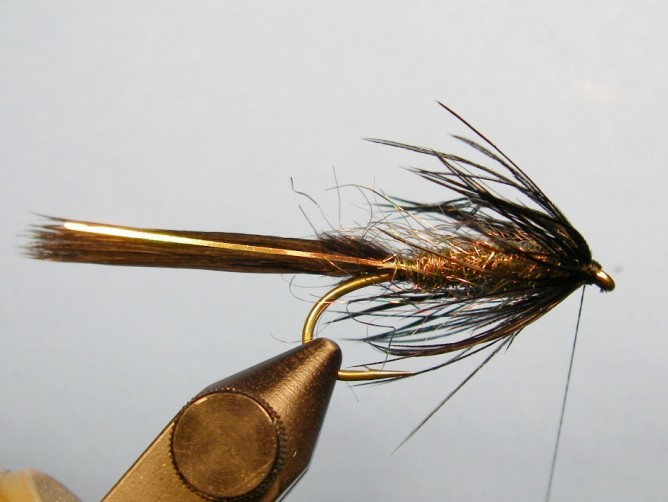
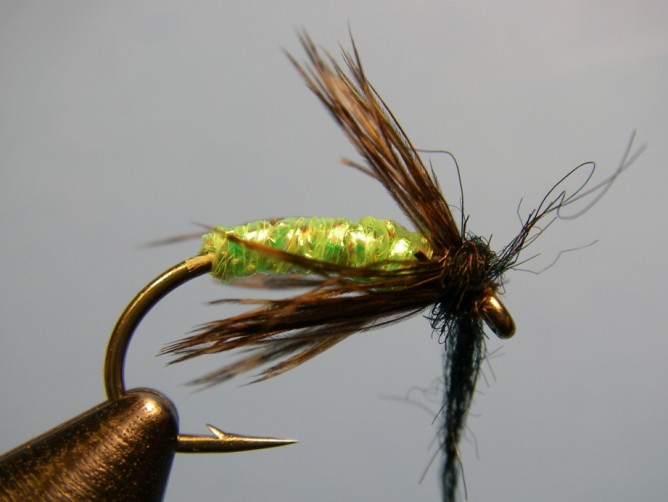
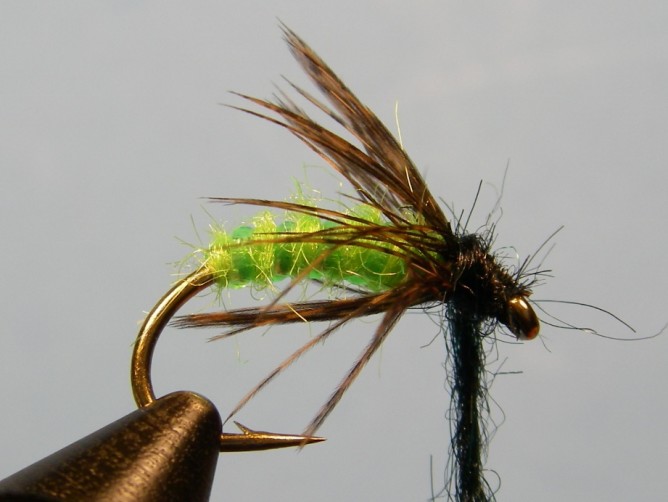
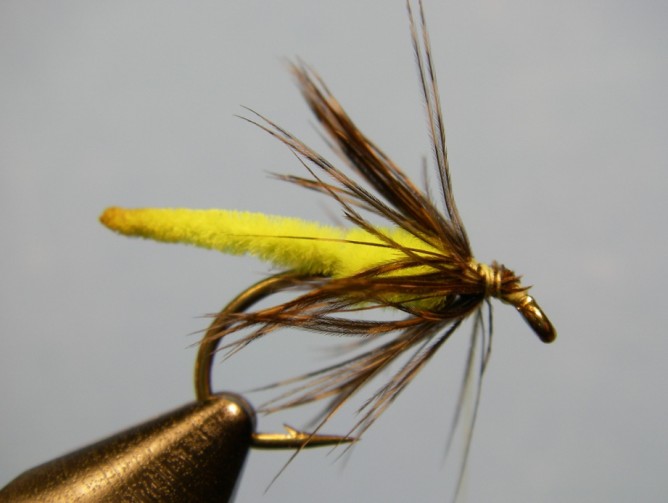
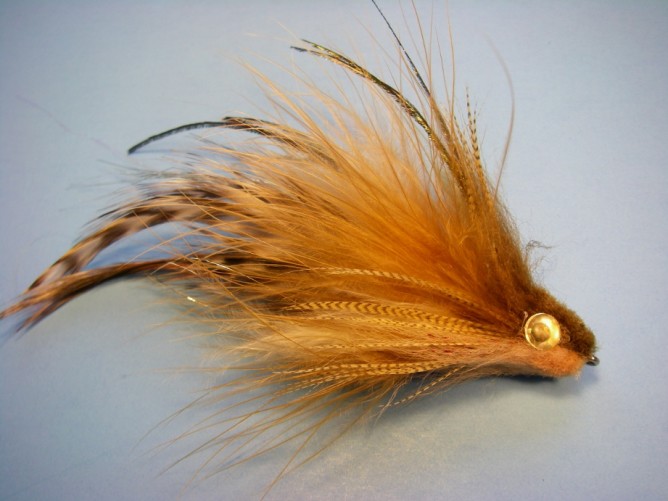
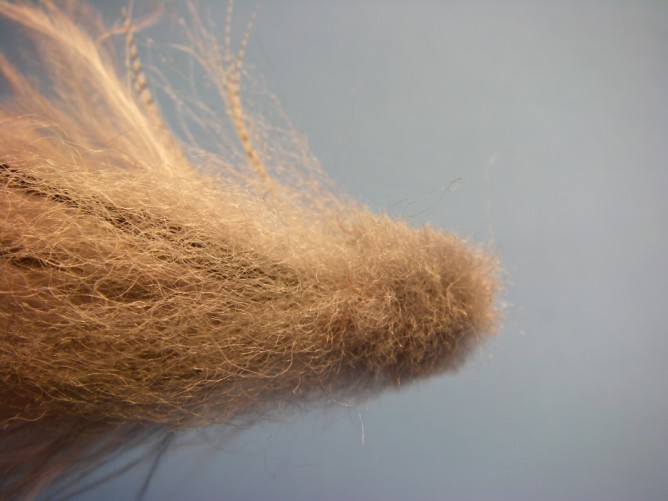
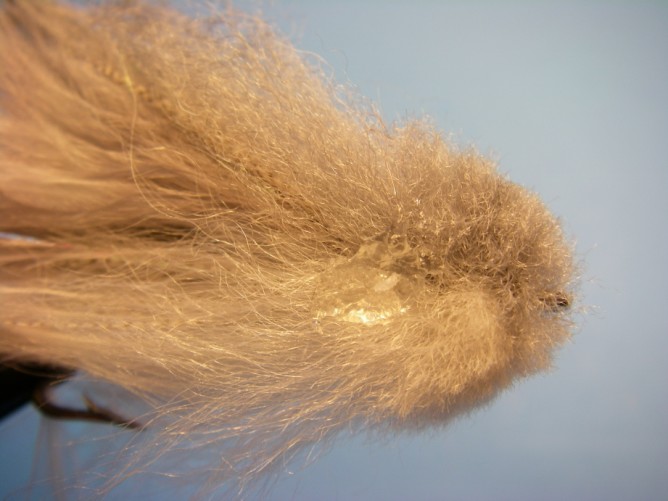
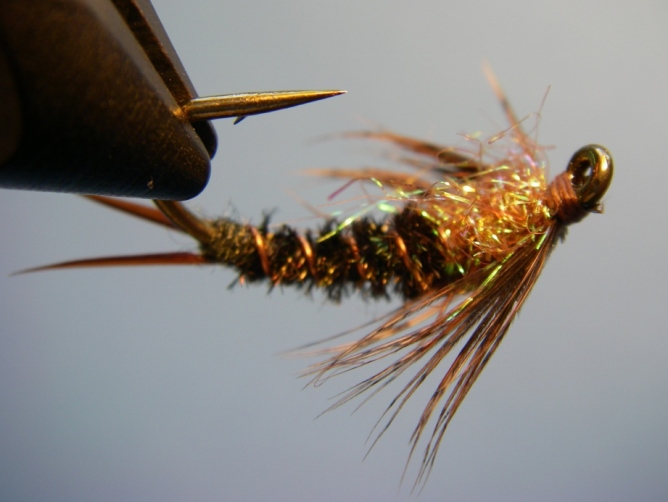
Finished Ice Bugger
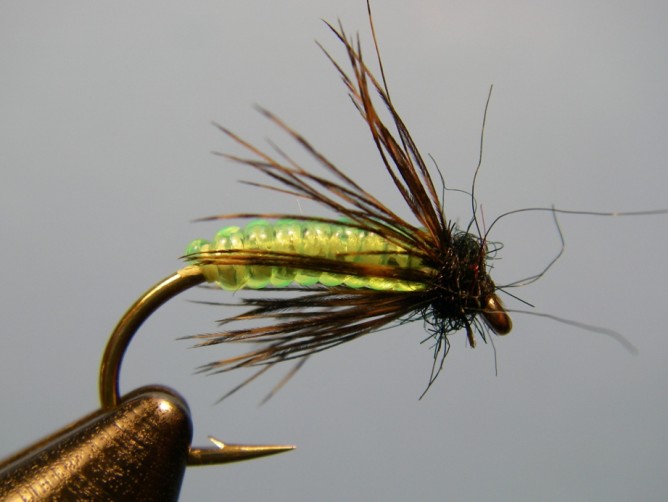
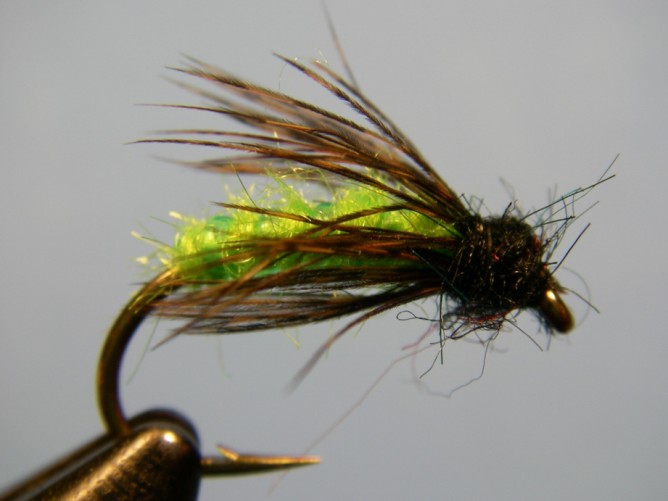
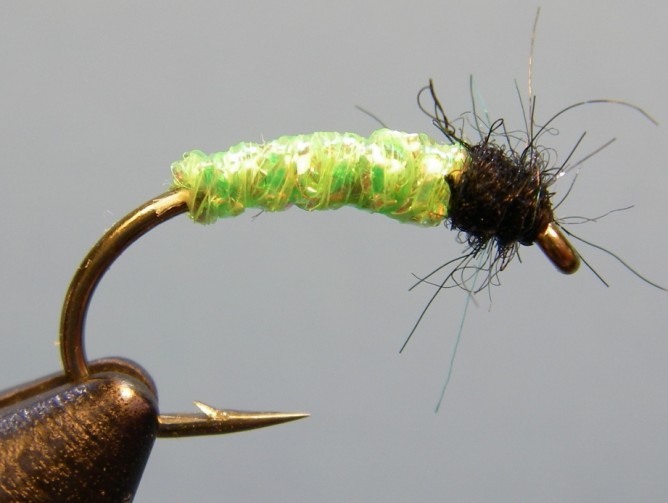
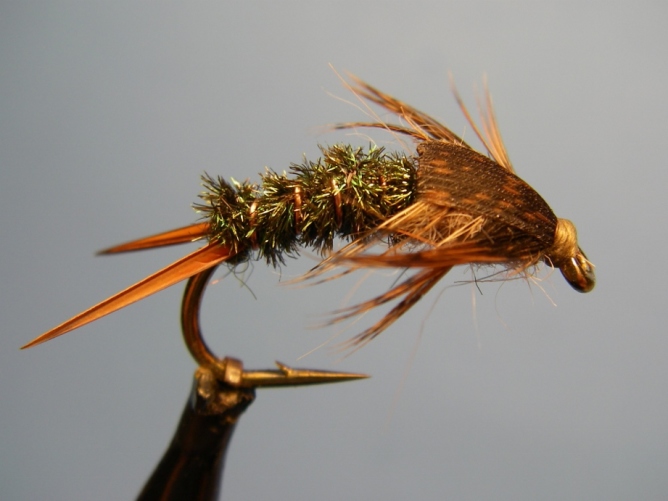
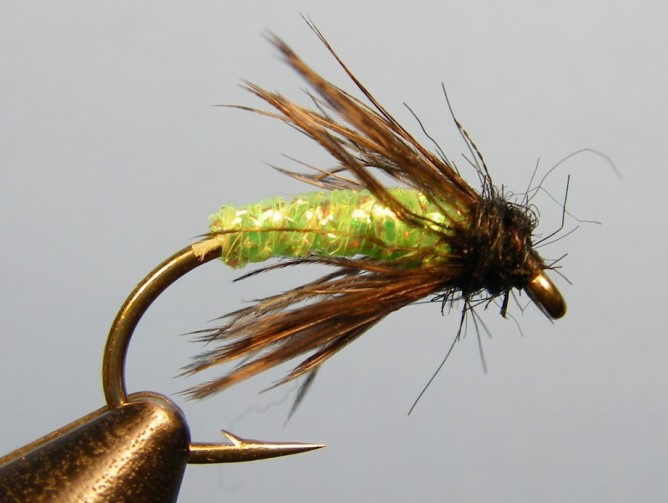 Diamond Braid Green Caddis
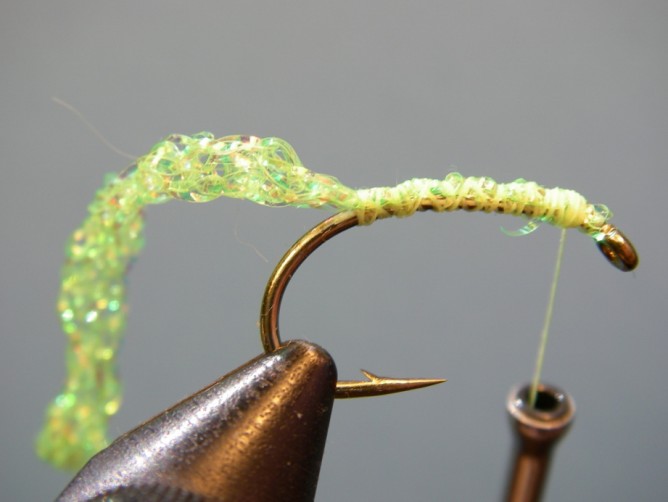
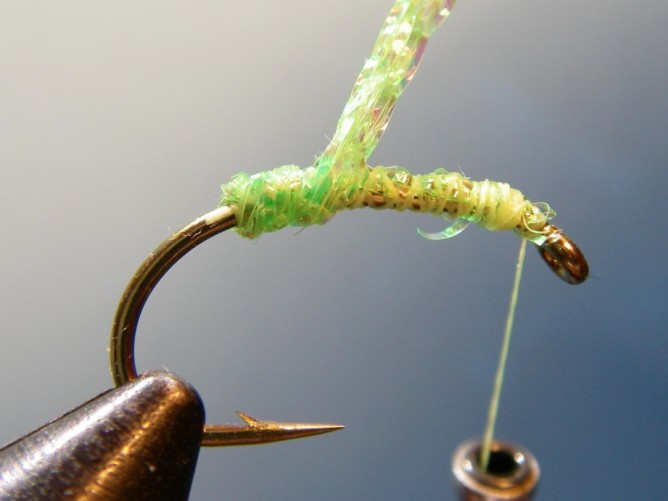
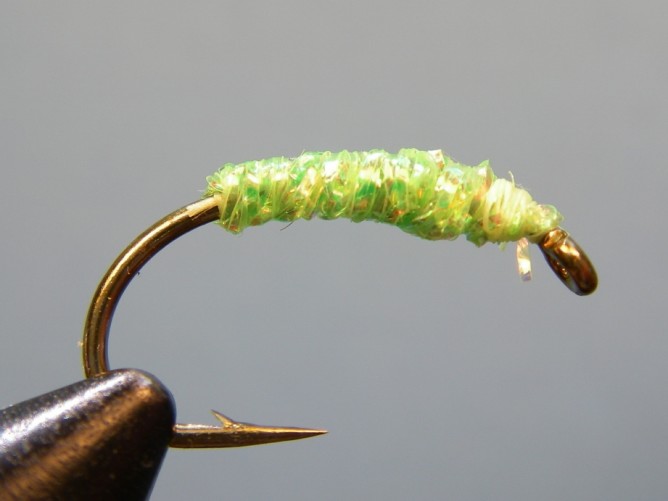
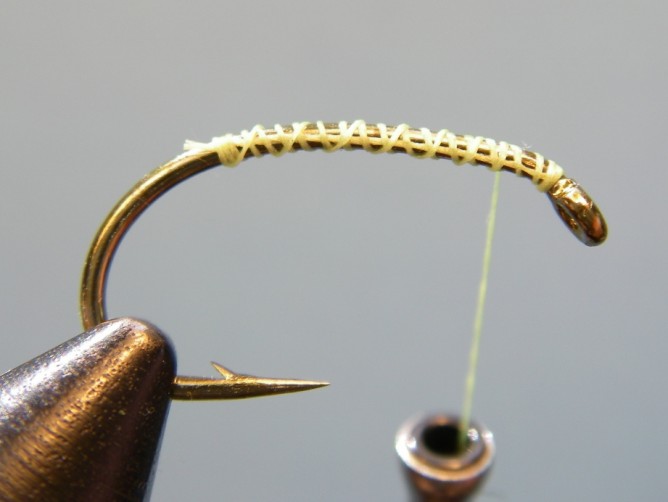
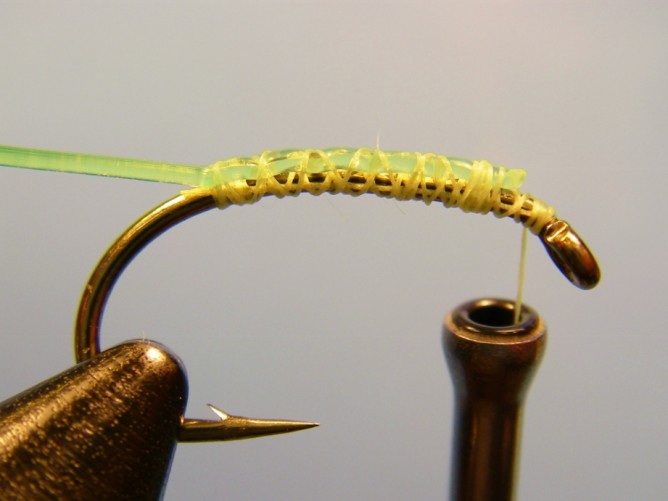
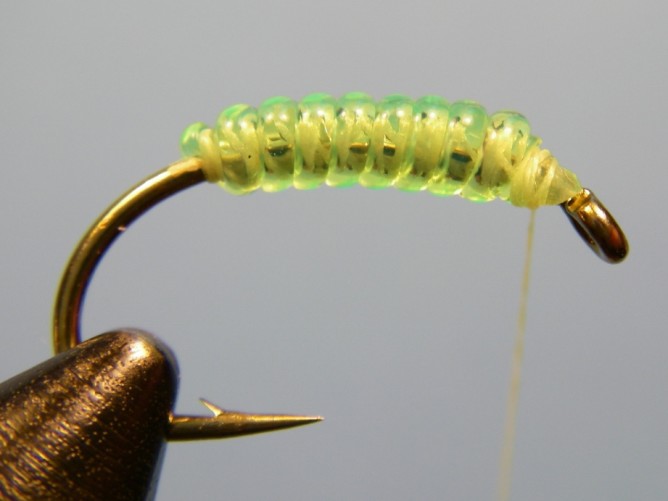


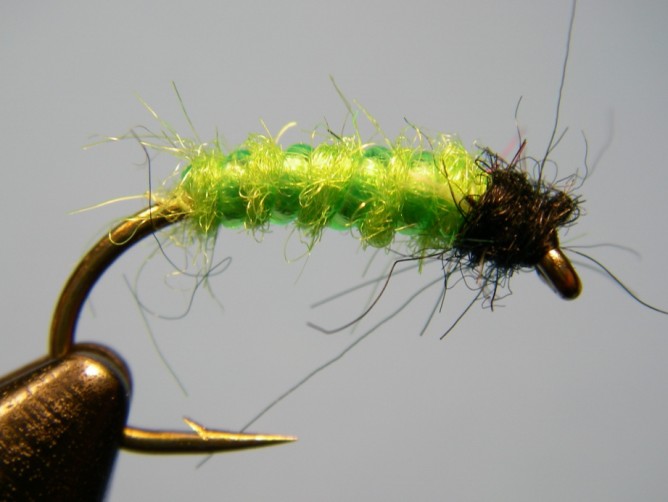
 Hook: Mustad S74SNP #1
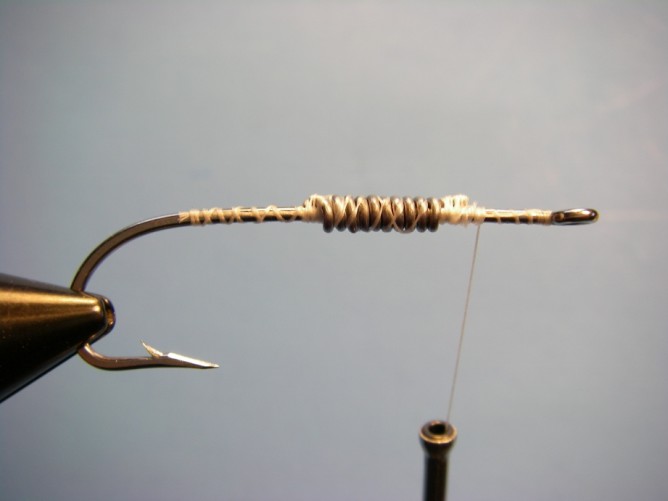

 Recipe