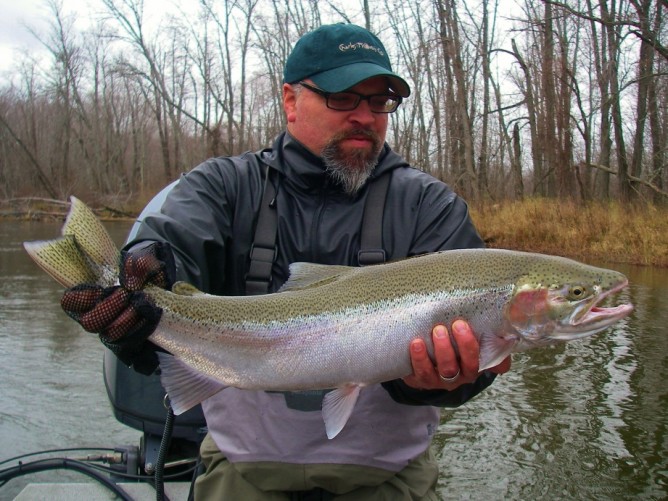
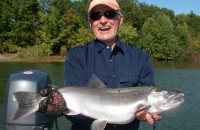
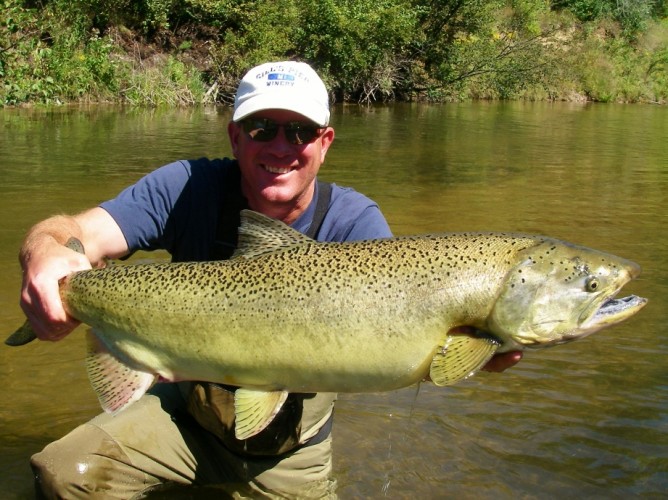
King / Chinook Salmon
Salmon start running upstream on our rivers as early as mid-August on the Betsie River and the season extends into October on the Big Manistee River.
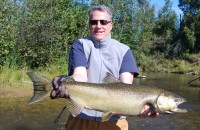
Spending their “growing years” in the big water of Lake Michigan, the King (Chinook) and Coho (Silver) enter our rivers to spawn. After staging in holes and pools waiting for conditions to be ideal the fish move to gravel sections to spawn. In both pools and around gravel, salmon are often visible while fishing, which helps fuel an angler’s excitement.
Averaging 12 -16+ pounds (depending on the year), these fish do climb well into the 20-pound range making for more than a handful of fish. Landing these fish on fly rods is fun and often challenging at the same time in the smaller confines of a river. Angler’s love it so book early.
Methods

Double Header
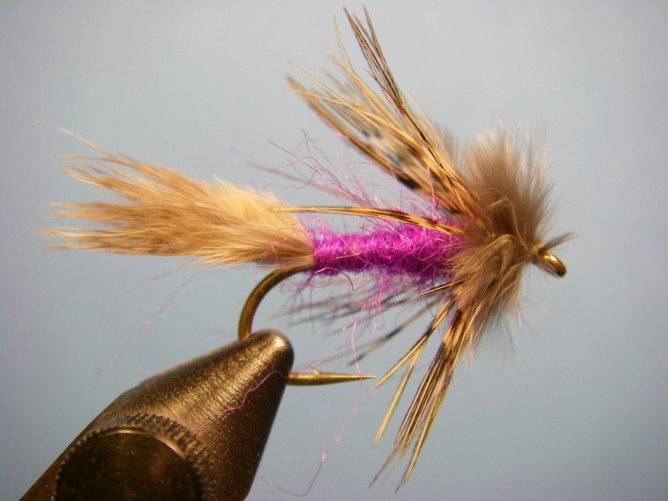
Nymph fishing with either floating lines or the most effective “duck and chuck” method gets our flies to the river bottom, where the fish are typically holding.
Also known as drift fishing, this is an easy-to-learn technique for beginners; experienced anglers just get better and more efficient with this method.
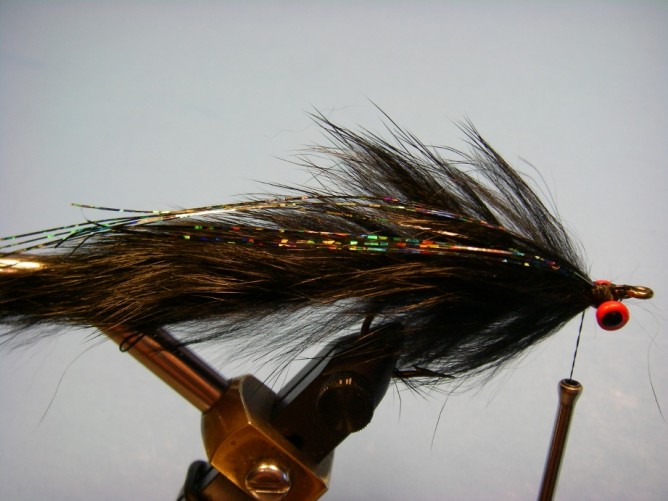
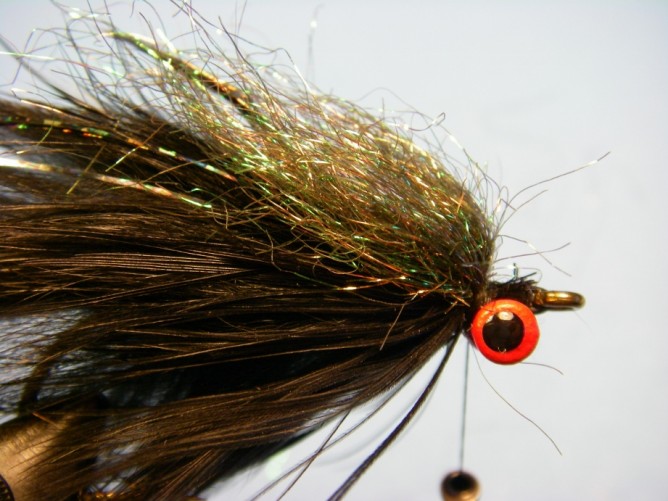
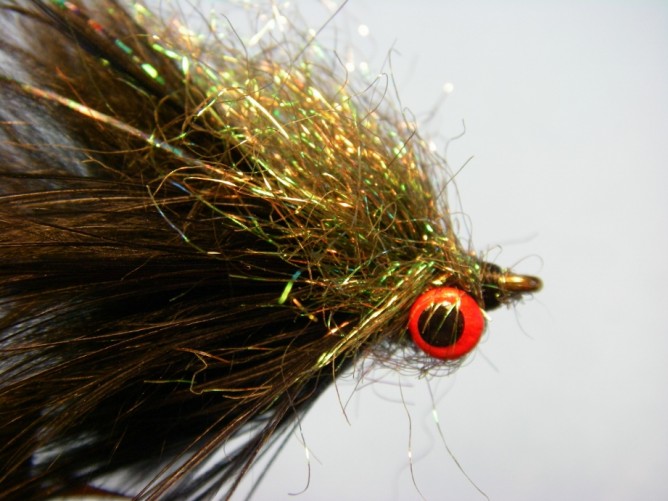
When fresh fish move into the river, these salmon can be caught throwing big streamers with sink-tip lines on 9- and-10 weight fly rods. Much like trophy streamer fishing for trout, this can be exciting as you never know when a fish is going to materialize and try to pull the rod out of your hand on the take.
To realize success, anglers interested in fishing with this method must be able to cast a fly rod proficiently prior to booking a guide trip.

Spawning Salmon

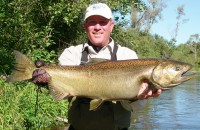
Coho / Silver Salmon
Rivers
Most of the rivers in the Traverse City and northern Michigan regions that flow into Lake Michigan have a “run” of salmon. Typically starting as early as mid-August, fish begin to school up at the river mouths and/or pier heads and swim upstream when ideal conditions occur, usually after a decent amount of rainfall. Join us on a guided fishing trip on the Betsie, Manistee or Platte Rivers.
To learn more about the rivers we fish salmon, click on the links below.
• Manistee River below Tippy Dam • • Betsie River •
–To preserve our fisheries all trips are catch and release —
-
- Coho Salmon on the Manistee
-
- Fly Fishing The Betsie
-
- Bright and Fresh Salmon
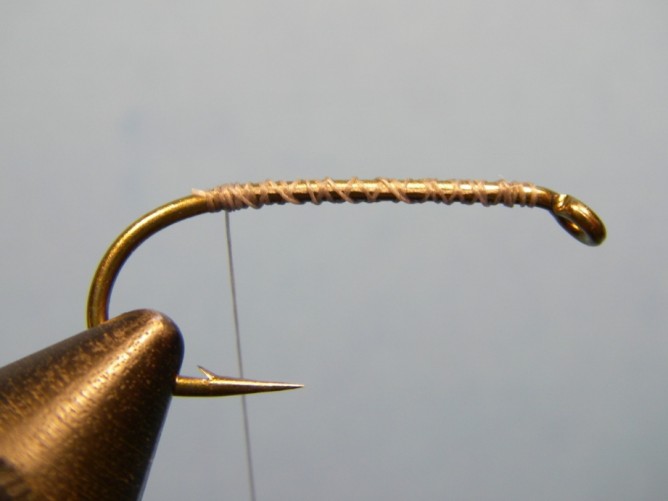
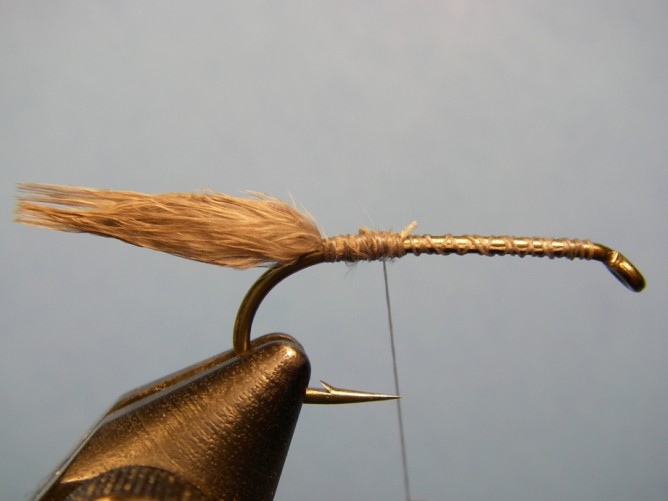
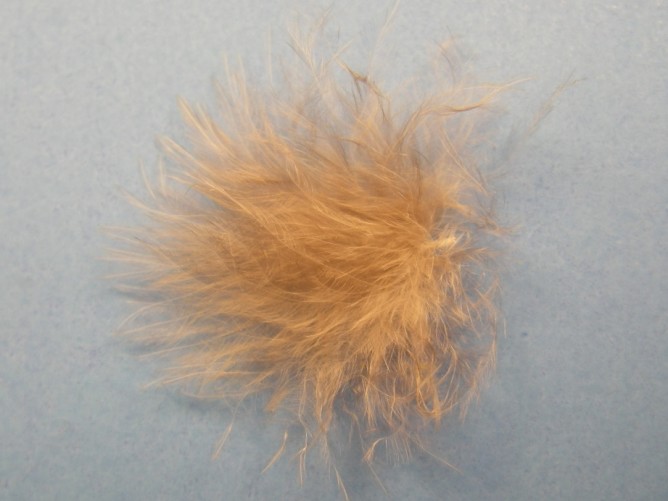
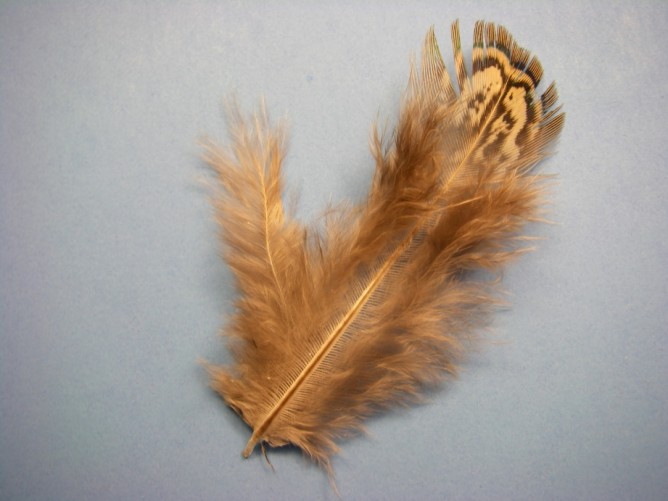
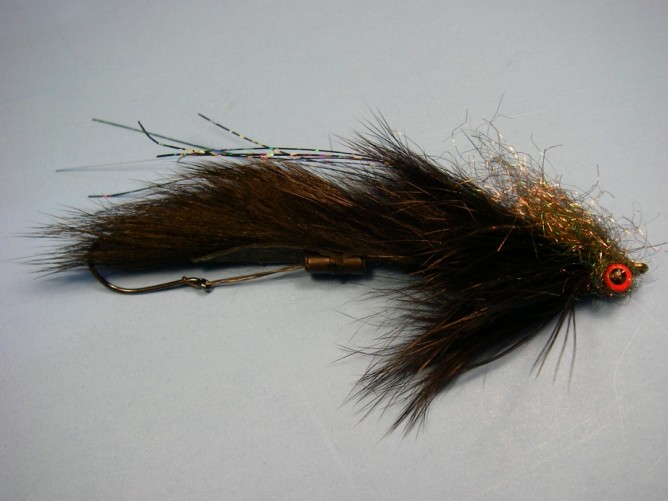
 Recipe:
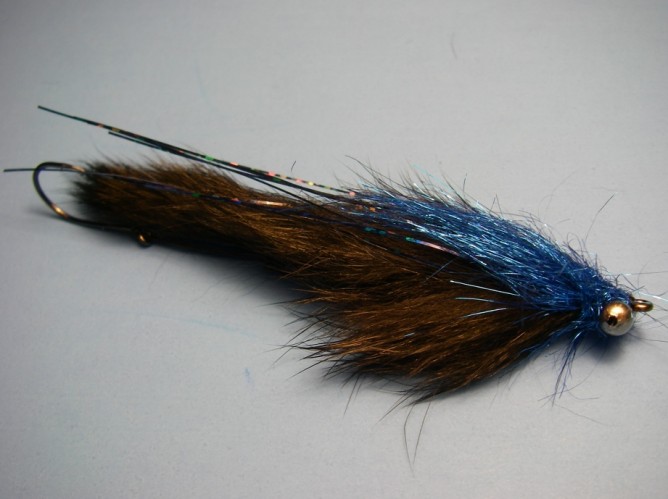