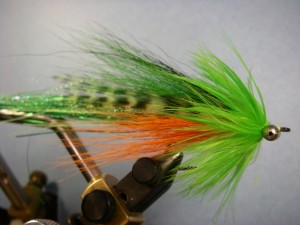
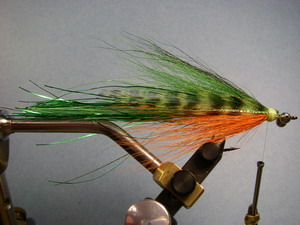
Originally this pattern was designed by Dan Blanton for saltwater use, but over the years it has been adopted by freshwater anglers for its versatility and effectiveness. This pattern is one of the must-have flies that will work in various colors for various species – if it is a predator, it will eat the Whistler.
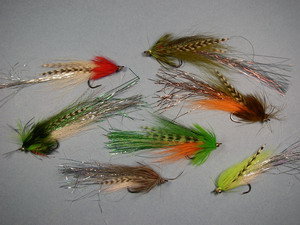
Beyond pike and musky, I have found various sizes and colors to work well for trout, bass and salmon. The color choices are endless and this particular scheme is a favorite of salmon when they first are in the river. Anglers using lures for these fresh salmon have an affinity for Storm Thunderstick lures in Fire Tiger and it’s effectiveness has led me to tying this fly pattern in a similar color scheme. Make sure your fly box is filled with yellow/red, white/red, chart./olive, olive/yellow, orange/olive, and gray/white to be
equipped and ready for various species in various situations.
Like the name suggests, there is a liberal amount of flash tied into the tail that not only provides flash, but also action.
The bead-chain eyes “whistle” as you cast the fly through the air. The physical weight of this pattern makes it easy to cast and it retains little water helping to keep it light weight. The thin profile of this pattern causes it to sink slowly which is ideal for shallow water and floating lines while it allows for decent penetration of the water column when fished with sink-tips. Further, you can mitigate the bead chain eyes with other, heavy sinking eyes if you are looking to get the fly even deeper.
Recipe:
Hook: Gamakatsu B10S, TMC 811S, 600SP; Size: 3/0 – 6
Thread: Fly Master + or Uni 3/0 – Chartreuse
Tail: Flashabou – A mix of Kelly Green, Green Glow-in-the-dark, and Chartreuse
Body: Bucktail – Flo. Orange, Kelly Green and Black
Wing: Chartruese Grizzly Saddle hackle. Krystal Flash – Chartreuse
Throat: Red Dubbing (I like Pseudo Seal, Angora Goat or Simi-Seal) or Red Chenille
Collar: Highlander Green Schlappen
Eyes: X-Large Bead Chain – Stainless Steel
Tying Instructions
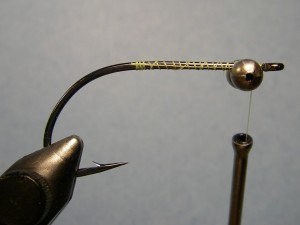 Step 1. Wrap a thread base to above the hook point and take thread back to
behind the hook and tie in bead-chain eyes on the underside of the hook.
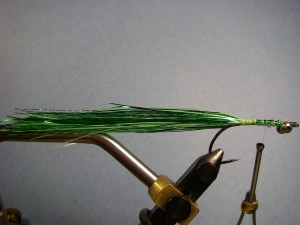 Step 2. Tie in Flashabou tail – 3 times hook shank length. [The pictured fly’s
tail is a little shorter which was done for photographing reasons]
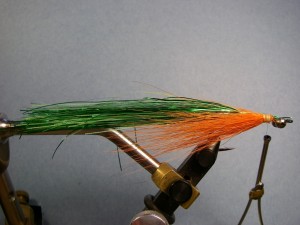 Step 3. Invert hook and tie in orange bucktail so tips extend one hook shank length behind the bend
of the hook. Trim excess and wrap in between butts to get a good purchase and secure.
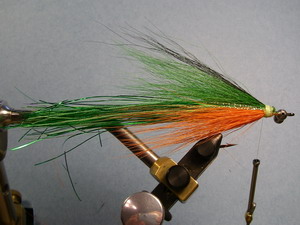 Step 4. Return hook to normal position. Tie in top bucktail to same length as
bottom section, but slightly denser to ensure the fly swims right side up. Majority
of the top color is Kelly Green with some black on top to match the color scheme.
Trim excess and secure. Tie in a few strands of Krystal Flash on each side.
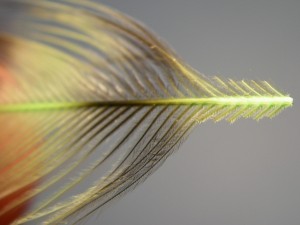
Step 5. Prepare saddle hackle by trimming some of the fibers, but leaving the butts to
allow for a secure mount. Pinch the stem of the feather flat with smooth faced hemostats or
pliers to keep the feather from rotating when mounted. Mount on each side of the fly with
natural feather curves bending in. The tips should be the same length as the bucktail. Tie in
additional Krystal Flash over the hackle wings extending aprox. the same length as the hackle.
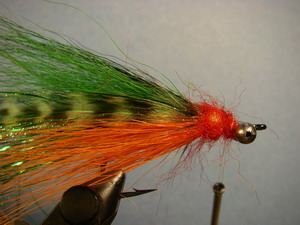 Step 6. Loosely dub over the thread wraps with some red dubbing. This not only helps to protect the
materials, but also gives an appearance of gills. The original pattern was tied with red chenille, but I
prefer the low profile of dubbing which also makes for a textured surface to tie in the schlappen feathers.
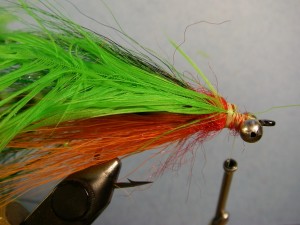 Step 7. Tie in 2 or 3 large Schlappen feathers by their tips between the dubbing and eyes. Be sure
to tie schlappen in where fibers are long enough (aprox. just larger than a hook gape).
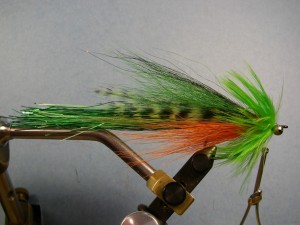 Step 8. Wind all the feathers together forward to just behind the eyes and tie down. Whip finish and tie off.
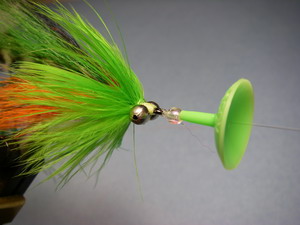 Optional: When fishing, try using a Wiggle Fin Action Disc on the line in front of the fly. This plastic
dish creates a unique wobble and imparts a lot of action when pulled slowly. The resulting wiggle/motion
of the fly and the flashabou tail is seductive. Click here for the Wiggle Fin website.

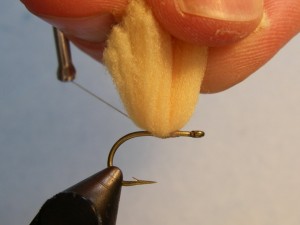
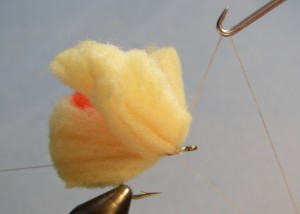
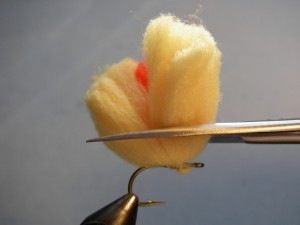
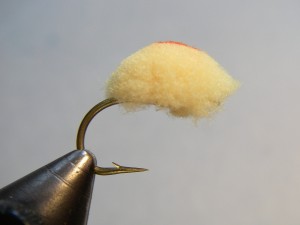
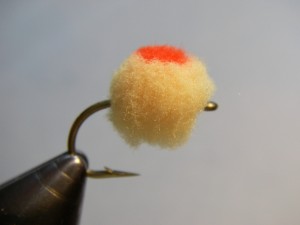 The typical material for tying Glo Bugs is Glo Bug Yarn or Egg Yarn and many, including myself have found tying nice, round looking egg flies is difficult when using this material. In the mid-1990’s a new material, McFly Foam yarn, hit the market and tying nice, round eggs has been easier ever since. It’s available in huge array of colors and anglers can mix them up or incorporate dots very easily for a custom combination.