Three seasons in one day…. and being prepared.
Fly fishing is supposed to be fun, and being comfortable by being prepared for weather conditions is paramount. In Michigan we not only have a variety of species to fish for, but we have four distinct seasons to fish in. And it isn’t unrealistic to experience two or even three seasons in a single day! Below are some thoughts on how to dress and what to bring to keep you comfortable and safe while on your Michigan fly fishing trips.
Spring & Fall
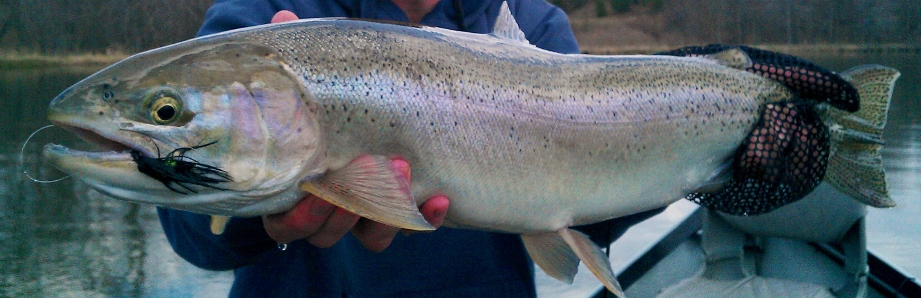
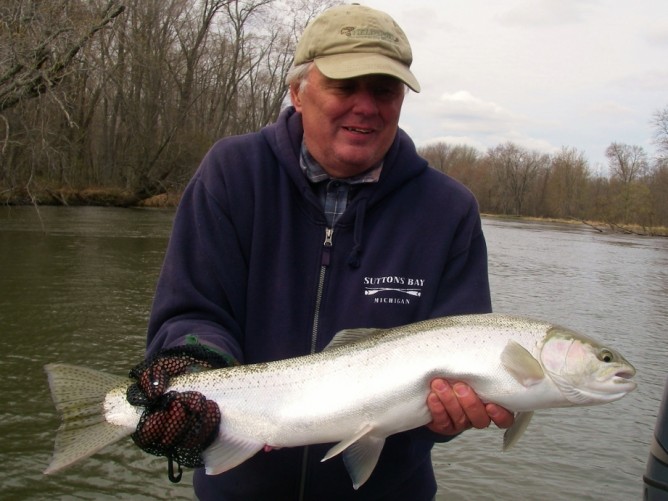
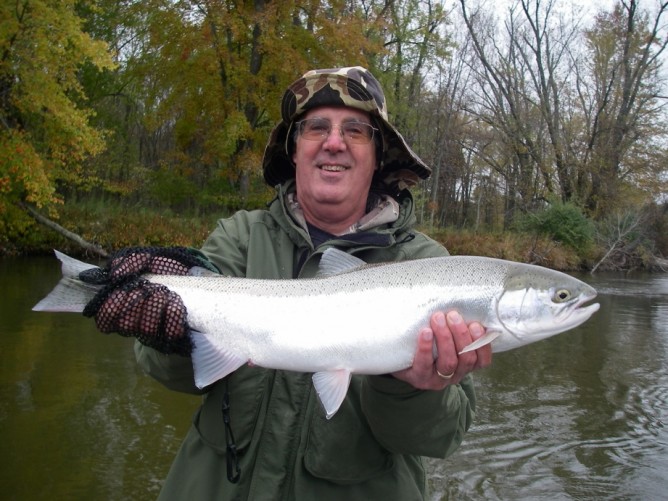
The spring and fall offer great fishing for steelhead. Temps start cold and often warm up through the day. You need to be prepared in case the weather man is wrong and it never warms up, but also have the versatility in case he is right.
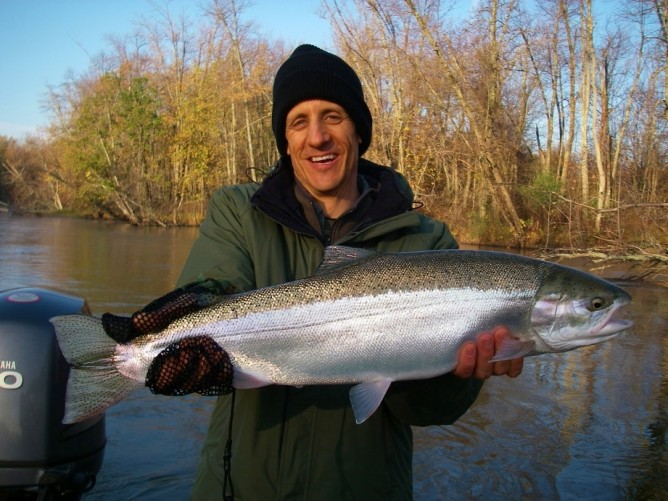
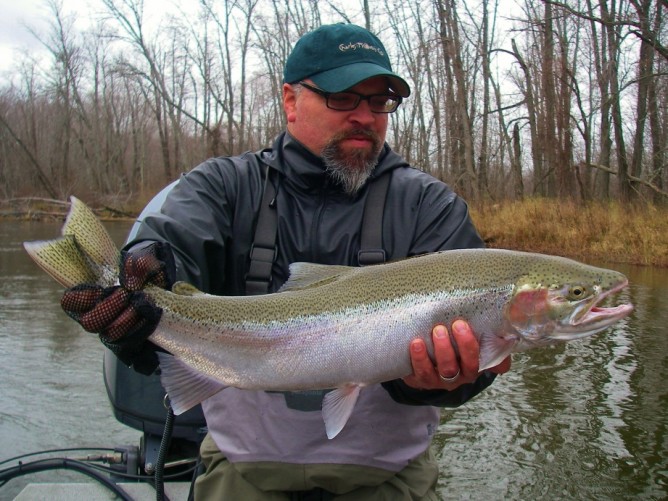
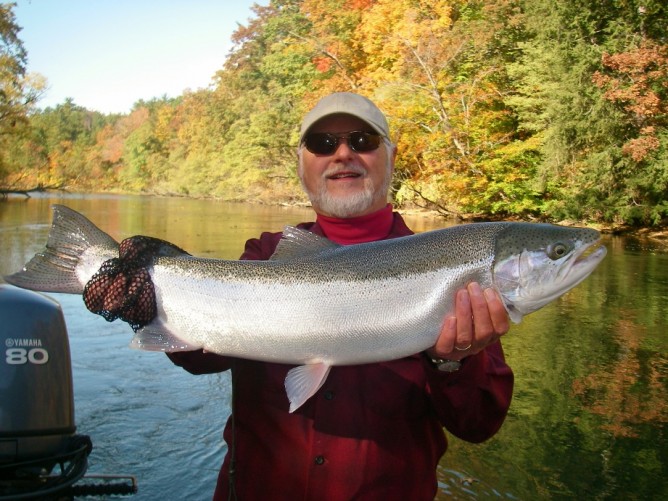
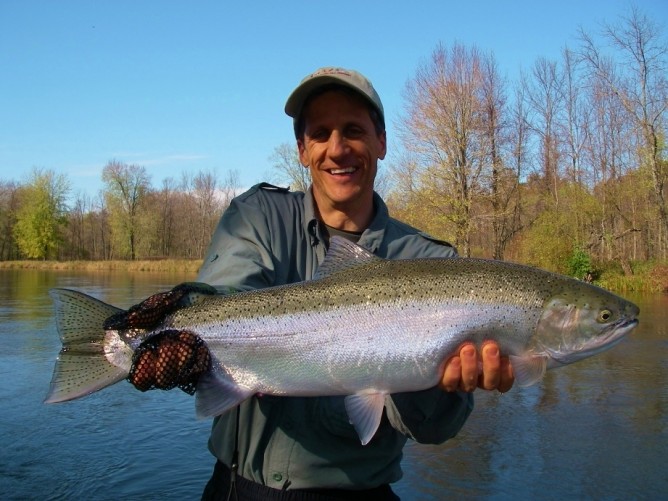
The steelhead above and below were caught the same day. Dressing in layers made it easy to stay comfortable when it was cold and later, warm.
Base Layer. Always start with a base layer of long underwear. This layer not only helps with insulation since it is close to your skin, but more importantly it serves to manage moisture, limiting heat loss through wet clothing caused by perspiration or rain. In the cooler months I don’t consider this layer an option but rather, a requirement.
Mid Layer. Layer with comfortable clothing that offers some insulation based on the forecast – a wool sweater, fleece pull over or vest – something that can easily be taken off or added as the temps change throughout the day. Wearing fleece pants is a nice insulative compliment to what you might be wearing above the waist. Having a fleece or other jacket (like a soft-shell) can serve as both a mid-layer and an outer
layer depending on wind or rain conditions.
Outer Layer. This layer is just as important as the previous two. We need to be prepared for wind and rain because if you get wet and cold, you’re done. Make sure you have a waterproof rain jacket/parka. Umbrellas and fly fishing don’t work well together, so bring a hard-shell style jacket to keep the wind and rain out while you fish.
On those cool days where it just seems to rain the entire day, even the best rain jacket isn’t enough. I have found that if you wear a soft-shell style jacket under the hard-shell jacket, you will be surprised at how comfortable and dry you are at the end of the day. This is by far the best one-two combination I have found in these conditions.
Wearing waders is a great way to keep the wind and rain off of your bottom half even if you aren’t wading. Fishing from the boat in rain pants/bibs will keep the wind out and heat in while keeping you dry if it rains.
A hat can make a big difference in your comfort level regardless of how goofy it might look.
Accessories. Ball caps are commonly worn by anglers, as they shield the sun from the eyes, helping to see in the water. They also deflect casts gone wrong. They also keep the sun off your head.
A fleece or wool hat is very handy when the mercury in the thermometer doesn’t seem to budge. So much heat is lost through the head and neck that this easy-to-bring item can make a huge difference.
Quality wool socks help keep your feet warm and dry – just make sure you’re wearing waders or other footwear to keep them dry. A pair of winter boots can go a long way on those cold mornings when fishing from the boat.
Summer
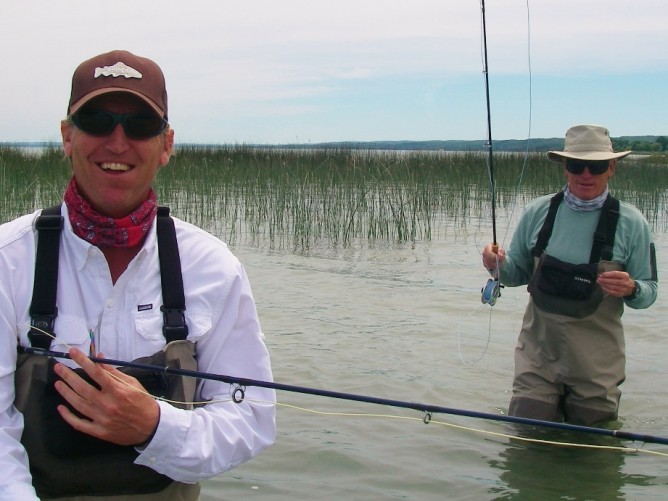
Dressed for success: u.v. protection from a light shirt, Buff gaiter, hat, and glasses with breathable waders.
Staying cool and keeping the sun off of our bodies is the strategy when days are longer, temps are higher and the sun is brighter.
Fishing shirts made of quick drying materials provide a level of UV protection/sunblock while they wick moisture away from the body, helping to keep cool. Believe it or not, long sleeve shirts of this construction are cooler than wearing a short sleeve T-shirt made of cotton.
Shorts are fine, but the sun shines on your skin and warms it up. Long pants made of light quick-drying material not only keep the sun off of you, but also have the added benefit keeping insects from biting.
If warm out, anglers like to wet-wade parts of the river and often use a swim suit combined with supportive wading shoes or sandals, or even their wading boots with Guard Socks. If fishing in the boat on a mild summer day, some find it hard to beat sneakers or trail shoes.

Cool customers – ready to spend a summer day fishing by wearing light, protective and breathable clothing.
Wide brim hats help keep the sun off the face and also deflect any errant casts. Personal sun shields like a Buff have become popular because of their effectiveness and versatility providing protection around the neck, face and ears.
Often during the trout season we start a guide trip off during the warmest part of the day and stay out past dark when temps drop. Having an extra layer for when the sun goes down and the dew and temperature fall can go a long ways.
Always have rain gear because even though it wasn’t in the forecast, rain can happen at any time – it’s Michigan.
General Notes & Thoughts
Say no to cotton (and linen).
Cotton kills. While comfortable in dry conditions, when cotton garments get wet, they stay wet. Cotton clings to your skin not only making it uncomfortable, but also potentially dangerous in cold weather. Conduction, evaporation and convection combine with wind for major heat loss. Jeans and sweatshirts are made of cotton. And cotton socks? Save them for home or gym and use wool. Hypothermia happens when the body’s core temperature drops just a few degrees. It doesn’t have to be very cold to experience this potential life threatening condition, so stay dry and warm.
Use what you got. If you happen to be a winter outdoor enthusiast like a skier/snow boarder, consider wearing some of the same clothes or, at least use the same strategy, as far as layering. This might save you some money and will help to keep you comfortable.
Water resistant is not water proof. Cardboard is water resistant and we know how long that lasts in wet conditions. Seek external layers/raingear that are waterproof and breathable. Gore-Tex is a good thing, and in my opinion, worth it.
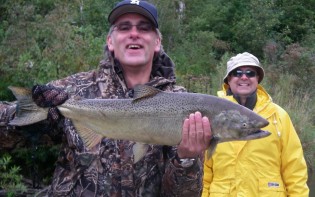
Notice which angler is holding the fish? Stay away from wearing bright clothing.
Bright colors are fish repellent. Bright clothing like hunter’s orange or a yellow rain jacket, do a good job of scaring fish in clear water and bright conditions – try to blend in with the environment by wearing subdued colors. However, if you’re fishing during the firearm deer season (Nov. 15-30th), err on the side of safety and wear some orange.
Let it Breathe. When wading, quality breathable waders are key to staying dry & comfortable – cooler in warm weather and warmer in in cool weather. Always wear socks and a layer between your skin and wader to prevent dead skin from rubbing off and eventually causing a funky smell that will never leave. Wearing a fleece pant is ideal during cold seasons as condensation won’t build which occurs in non-breathable construction like neoprene.
Block the sun. Your preferred sun block should be applied before you get to the water and while out there. In the spring and fall when temps are cool the sun/uv exposure itself is intense when most don’t expect sun exposure to be a factor. Protect yourself on the overcast days, too.
Keeping Lubricated. Staying hydrated is key to staying comfortable in both cool and hot conditions. Water is the best way to stay hydrated, and by doing so the night before and just before the trip goes a long way. Coffee and alcohol have the opposite effect – they dehydrate you.
Recommended Gear
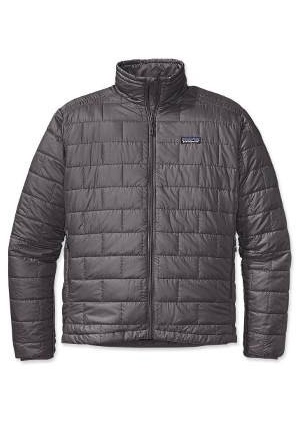
Patagonia Nano Puff Jacket
Below are some products and items I have used and feel strongly about endorsing.
Hand and Foot warmers. These inexpensive disposable warmers do a good job of keeping the chill out. For maximum effectiveness, open 30 min. before you get to the river. Look for these at big box and convenience stores.
Patagonia Nano Puff Jacket. This smooth, easy to layer over and under jacket can also be used as an external layer. It’s very warm when you consider its lack of bulk and how small it packs. It is available in both a hooded and non-hooded version, and it might become your favorite jacket when off the river, too.
Base Layer – Long Underwear. Simms Base Layer Options or Patagonia Capilene long underwear. Moisture management and comfortable while helping to keep you warm.
Dry Bag. Having a dry bag to keep extra layers not only keeps things dry, but also organized. Check out Simms Dry Creek Roll Top.

Simms Half-Finger Gloves
Simms Wool Half-Finger Gloves. These gloves are the best I have found to provide dexterity and warmth. Having a larger, warmer glove might come in handy when moving between fishing places or when your hands get cold, but these specific gloves are ones you actually can fish with.
Alba Sport Sunblock SPF50. Being “sport,” it handles sweat better than most. This “breathable” sunblock is one of the most comfortable I have used over the years, providing both protection and comfort – just remember to reapply.